Brightsign Wi-Fi connection
Configuration with USB Keyboard
-
If you used the device before with the Wallboard client, You need to factory reset it and remove everything from the SD card, or the device will start the Wallboard client after reset.
-
Connect a USB keyboard to the device
-
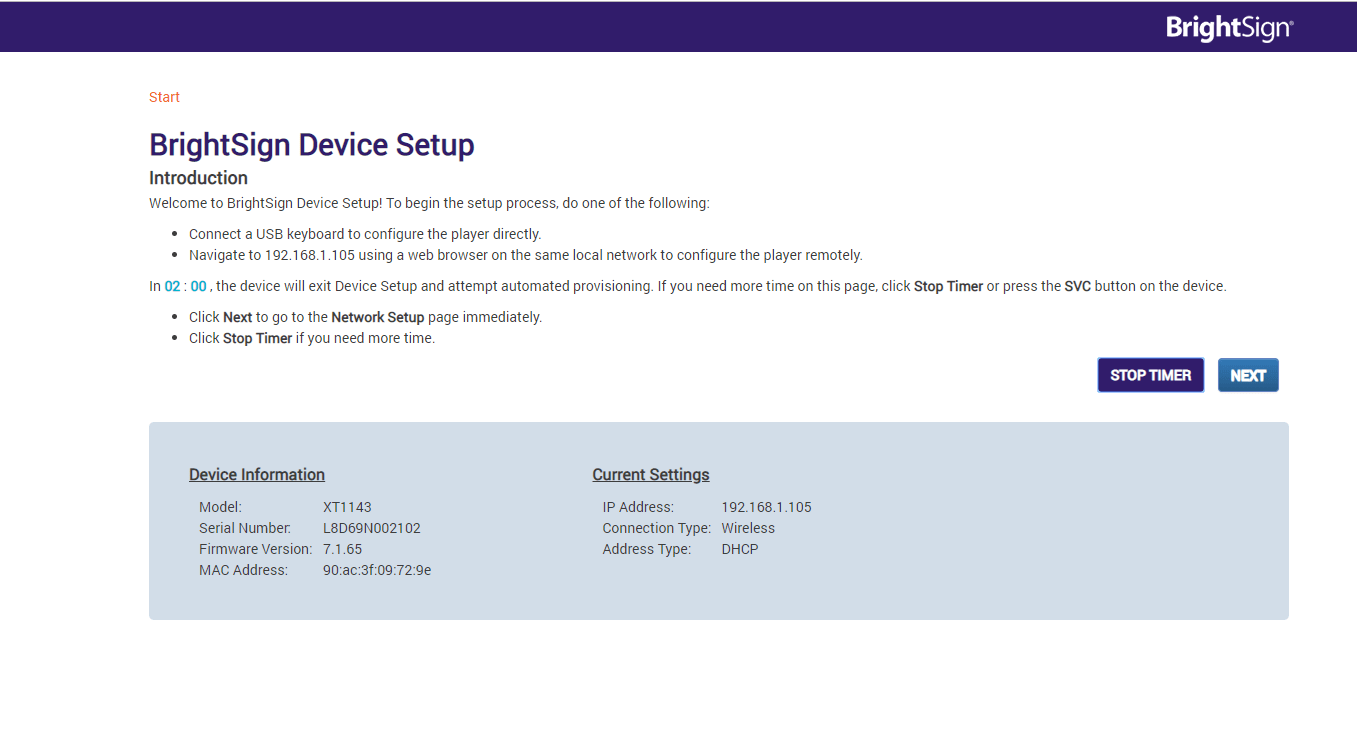
Turn on the device and insert an empty SD card into the Brightsign. The setup screen will appear.
-
Select next
 |
|---|
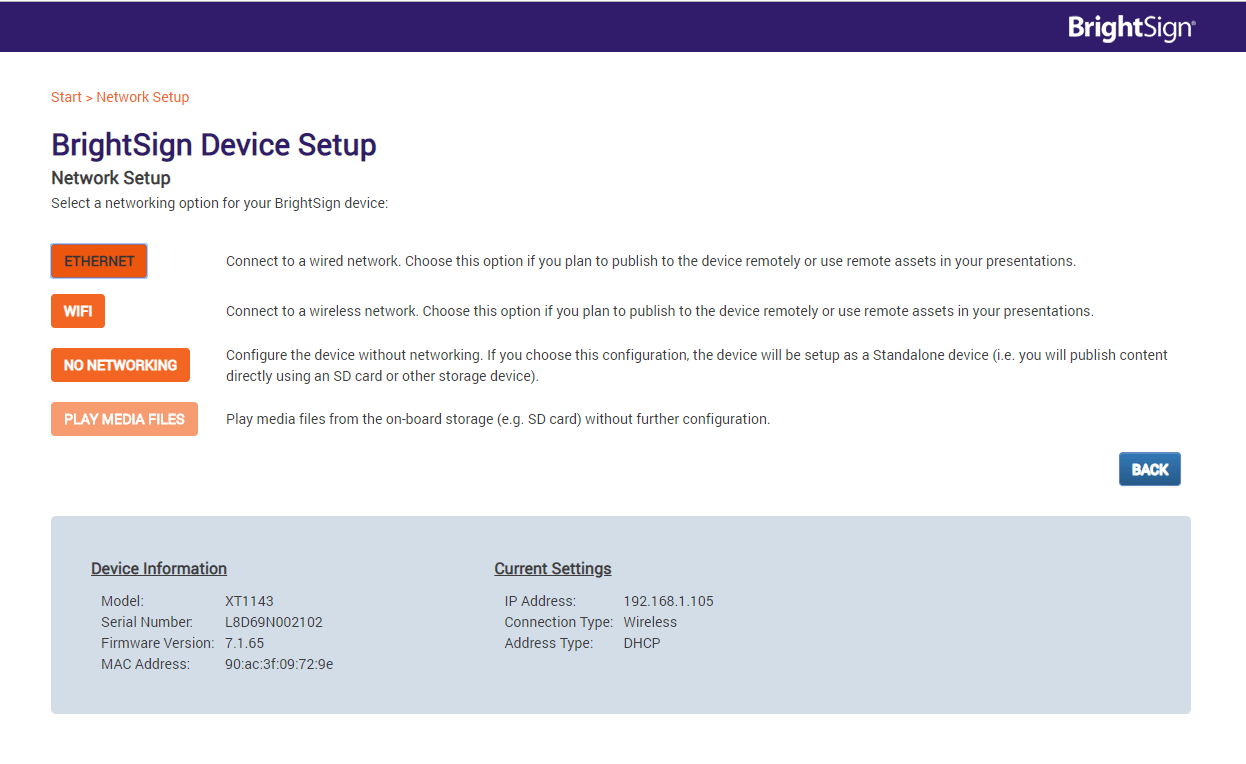
- Select Wi-Fi
 |
|---|
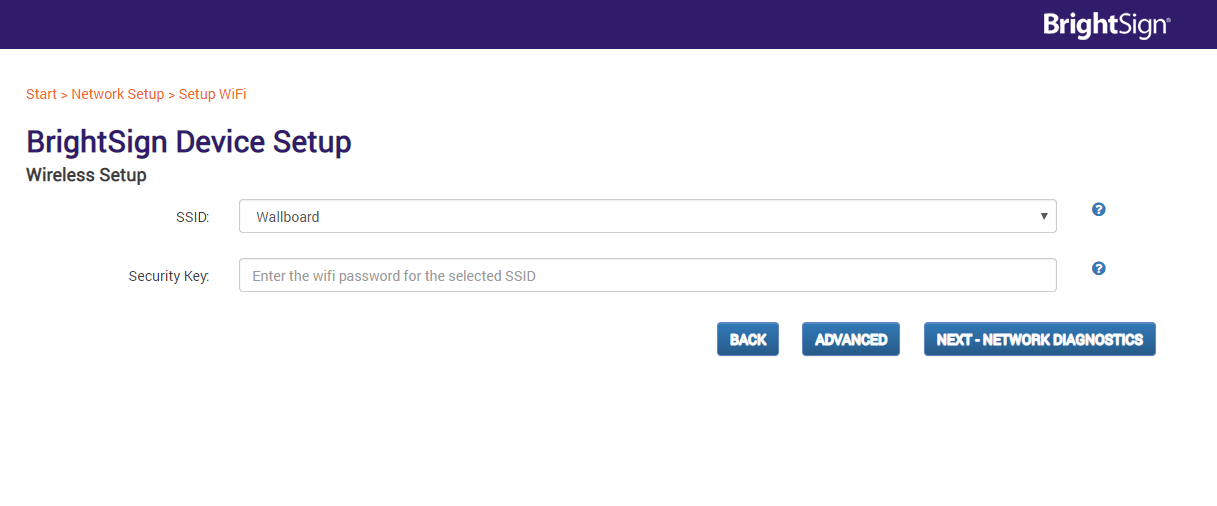
- Choose the SSID and input the security key then select Next-Network Diagnostics.
- Take out the SD card and copy the Wallboard Brightsign client files to it. Reinsert the SD card.
- Reboot the device.
- The Wallboard client will start now with the Wi-Fi connected.
Configuration with Diagnostic Web Server:
- If you used the device before with the Wallboard client, You need to factory reset it and remove everything from the SD card, or the device will start the Wallboard client after reset.
- Turn on the device and insert an empty SD card into the Brightsign and the setup screen will appear.
- Connect the device to the internet via Ethernet, open a browser on a computer and login to the Diagnostic Web Server of the device.
- Diagnostic Web Server login:
URL="Device ip",Username="admin",Password="Serial number"of the Brightsign device. - On the web-admin you will see that it shows the device setup page. -Select next
 |
|---|
- Select Wi-Fi
 |
|---|
- Choose the SSID and input the security key then select Next-Network Diagnostics.
 |
|---|
- Take out the SD card and copy the Wallboard Brightsign client files onto it. Reinsert the SD card.
- Reboot the device and remove the Ethernet cable.
- The Wallboard client will start now with the Wi-Fi connected.