Advanced device configuration options for JSCore players
Where can you set these configurations?
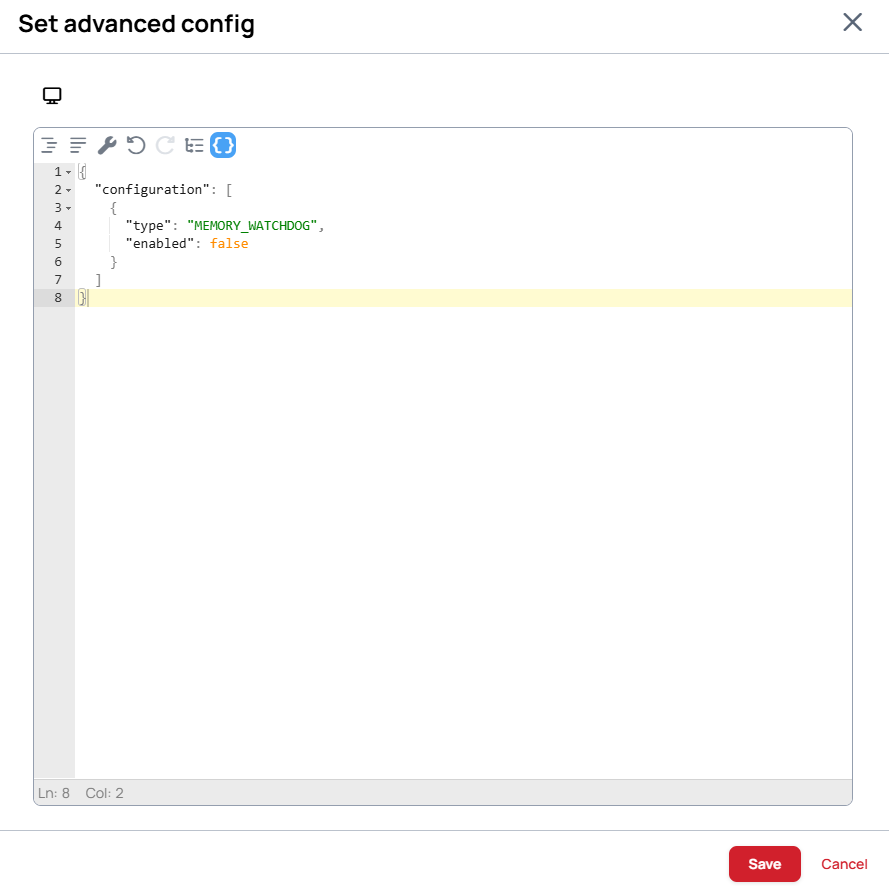
Navigate to the Devices menu and select the device where you wish to set the advanced configs.
- In the details tab, select
Settings, scroll down until you find theAdvanced configmodal.

- Click on the
editthen place theconfigto the box
Clear button only clears the input field to an empty json. Sending this json doesn't disable the previous configuration of the device.
Generic advanced configuration options for JSCore devices
These advanced configuration options work on all supported JSCore devices. This means these are applicable to Samsung LG and BrightSign players.
The basic configuration structure is the following json array, which contains the actual configuration objects
{
  "configuration": [
    {
    }
  ]
}
There can be multiple objects inside a singe command. For example you can enable both debug mode and memory watchdog in the same Advanced configuration json
{
  "configuration": [
    {
      "type": "DEBUG_MODE",
      "enabled": true
    },
    {
      "type": "MEMORY_WATCHDOG",
      "enabled": true,
      "maxMemoryLimitFraction": 0.8
    }
  ]
}
enabledkey has to be defined, value has to be a non-empty booleanmaxMemoryLimitFractionkey has to be defined, value has to be number. The minimum limit is0.4, the maximum is1.0.
Show debug logs
Sometimes the support team requires a device log from the users to find out what causes a problem on the device. Enabling the debug log on the device will show more information for us in the device log.
{
  "configuration": [
    {
      "type": "DEBUG_MODE",
      "enabled": true
    }
  ]
}
enabledkey has to be defined, value has to be a non-empty boolean
Turn on system memory watchdog
This command turns on a system memory watcher. If the device reaches the given percent limitation the application makes steps to free up used memory by restarting itself. If the memory limit is exceeded a few times the application reboots the device to free up even more memory.
{
  "configuration": [
    {
      "type": "MEMORY_WATCHDOG",
      "enabled": true,
      "maxMemoryLimitFraction": 0.8
    }
  ]
}
enabledkey has to be defined, value has to be a non-empty booleanmaxMemoryLimitFractionkey has to be defined, value has to be number. The minimum limit is0.4, the maximum is1.0.
- We always recommend restarting the device after changing this setting to make sure the platform applies it
Setup NTP server
Setup NTP server
{
  "configuration": [
    {
      "type": "NTP_SERVER",
      "enabled": true,
      "serverUrl": "ntp://example.server.url"
    }
  ]
}
enabledkey has to be defined, value has to be a non-empty booleanserverUrlkey has to be defined, value has to be a non-empty string
Toggle Metrics and Proof of Play collection
With this you can toggle metrics and proof-of-play collection separately
{
  "configuration": [
    {
      "type": "STATISTICS_SETTINGS",
      "deviceMetricsEnabled": false,
      "displayTimeStatEnabled": false
    }
  ]
}
deviceMetricsEnabledkey has to be defined, value has to be a non-empty booleandisplayTimeStatEnabledkey has to be defined, value has to be a non-empty boolean
Device Preview
The Preview creation/upload can be disabled with this command
{
  "configuration": [
    {
      "type": "DEVICE_PREVIEW",
      "enabled": true
    }
  ]
}
BrightSign specific advanced configuration options
These advanced configuration options are only available on BrightSign players.
Screen configuration
Configure screen behavior
{
  "configuration": [
    {
      "type": "SCREEN_CONFIGURATION",
      "enabled": true,
      "screens": [
        {
          "enabled": true,
          "screenX": 0,
          "screenY": 0,
          "outputName": "HDMI-1",
          "transform": "normal",
          "videoMode": "1920x1080x60p"
        }
      ]
    }
  ]
}
-
enabledkey has to be defined, value has to be a non-empty boolean -
screenshas to be an array type containing validscreenModeobjects -
screenXkey has to be defined, value has to be number -
screenYkey has to be defined, value has to be number -
outputNamekey has to be defined, value has to be a non-empty string. There must be a-betweenHDMIand the number -
transformkey has to be defined, and one of the following values:normal,90,180,270 -
videoModekey has to be defined, value has to be a non-empty string
Using modeline for custom resolutions
- If your screen requires a resolution different from any of the presets you can use the screens modeline to force desired resolution
{
  "configuration": [
    {
      "type": "SCREEN_CONFIGURATION",
      "enabled": true,
      "screens": [
        {
          "enabled": true,
          "screenX": 0,
          "screenY": 0,
          "transform": "normal",
          "videoMode": "Modeline 1600x900x60p 97.75 1600 1648 1680 1760  900 903 908 926  +hsync +vsync",
          "outputName": "HDMI-1"
        }
      ]
    }
  ]
}
BrightSign players support any videomode which has:
- A width between the narrowest and widest of any of the preset videomodes
- A height between the shortest and tallest of any of the preset videomodes
- A pixel clock frequency between
25.0MHzand594.0MHzfor 4K players, or between25.0MHzand200.0MHzfor HD players
Forcing web resolution to match output resolution with 4K modes
- In 4K modes, the graphics plane may be smaller than the video plane and output. In these cases, the graphics plane is upscaled to match the video plane/output.
- You can force the graphics plane to match the output
- Forcing resolution may cause noticeable performance degradation with intensive HTML animations
{
  "configuration": [
    {
      "type": "SCREEN_CONFIGURATION",
      "enabled": true,
      "screens": [
        {
          "enabled": true,
          "screenX": 0,
          "screenY": 0,
          "outputName": "HDMI-1",
          "transform": "normal",
          "videoMode": "3840x2160x30p:fullres"
        }
      ]
    }
  ]
}
- You can configure the player to give more memory to the graphics plane by adding the
:gfxmemlargemodifier at the end of your video mode e.g.:3840x2160x30p:fullres:gfxmemlarge - Note that once you changed the memory configuration with the modifier you can only reset it by adding
:gfxmemdefaultmodifier to the end of your video mode mode e.g.:3840x2160x30p:fullres:gfxmemdefault
Forcing color space/ color depth
Digital video frames consist of pixels represented as numerical values, using two main systems:
RGB: Each pixel has three equal color values (Red, Green, Blue) combined for display.YCbCr: Pixels have a brightness (Y) value and two color difference values (Cb, Cr). Y uses more data than Cb and Cr, reducing overall data by focusing on brightness, as human vision is more sensitive to light than color.
Chroma Subsampling Chroma subsampling ratios reduce color data for efficiency:
4:4:4: No color data reduction.4:2:2: Half the color data, saving ⅓ of the total.4:2:0: Quarter of the color data, halving the total data size.
To set the video profile for HDMI output, there are two main formats to consider:
With YCbCr <resolution>:<color_space>:<depth>bit
This format defines the resolution, color space, and bit depth.
Example: To output 4K at 60 frames per second in the 4:2:0 color space with 10-bit color depth, use 3840x2160x60p:420:10bit.
This configuration prioritizes color compression (chroma subsampling) to reduce data while maintaining a high-resolution video.
{
  "configuration": [
    {
      "type": "SCREEN_CONFIGURATION",
      "enabled": true,
      "screens": [
        {
          "enabled": true,
          "screenX": 0,
          "screenY": 0,
          "outputName": "HDMI-1",
          "transform": "normal",
          "videoMode": "3840x2160x60p:420:10bit"
        }
      ]
    }
  ]
}
With RGB <resolution>:rgb:<range>
This format sets the color space to RGB, with a range setting for color values.
auto: Automatically selects RGB Full for VESA (PC) modes and RGB Limited for TV modes over HDMI. Over DVI, it always uses RGB Full.fullrange: Sets RGB Full (0-255), offering the full color spectrum.limitedrange: Sets RGB Limited (16-235), a more compressed range often used for TV displays.
{
  "configuration": [
    {
      "type": "SCREEN_CONFIGURATION",
      "enabled": true,
      "screens": [
        {
          "enabled": true,
          "screenX": 0,
          "screenY": 0,
          "outputName": "HDMI-1",
          "transform": "normal",
          "videoMode": "3840x2160x30p:rgb:auto"
        }
      ]
    }
  ]
}
Multiple output example on XC devices, where screens are above each other.
In case of the example there are 2 of the 1920x1080 screens so the final resolution will be 1920x2160
{
  "configuration": [
    {
      "type": "SCREEN_CONFIGURATION",
      "enabled": true,
      "screens": [
        {
          "enabled": true,
          "screenX": 0,
          "screenY": 0,
          "outputName": "HDMI-1",
          "transform": "normal",
          "videoMode": "1920x1080x60p"
        },
        {
          "enabled": true,
          "screenX": 0,
          "screenY": 1080,
          "outputName": "HDMI-2",
          "transform": "normal",
          "videoMode": "1920x1080x60p"
        }
      ]
    }
  ]
}
Screen control
Control screens
Using HDMI port
{
  "configuration": [
    {
      "type": "SCREEN_CONTROL",
      "enabled": true,
      "commands": [
        {
          "action": "SCREEN_ON",
          "method": "cec",
          "messageType": "byte",
          "message": "x64x13"
        },
        {
          "action": "SCREEN_OFF",
          "method": "cec",
          "messageType": "byte",
          "message": "x64x54"
        }
      ]
    }
  ]
}
Using Serial port
{
  "configuration": [
    {
      "type": "SCREEN_CONTROL",
      "enabled": true,
      "commands": [
        {
          "action": "SCREEN_ON",
          "method": "serial",
          "message": "TON\r\n",
          "messageType": "string"
        },
        {
          "action": "SCREEN_OFF",
          "method": "serial",
          "message": "TOF\r\n",
          "messageType": "string"
        }
      ],
      "serialConnection": {
        "port": "0",
        "parity": 0,
        "baudrate": 115200,
        "dataBits": 8,
        "stopBits": 1,
        "flowControl": 1
      }
    }
  ]
}
-
enabledkey has to be defined, value has to be a non-empty boolean -
commandshas to be an array type containing validScreenControlCommandobjects -
actionkey has to be defined, and one of the following values:SCREEN_ON,SCREEN_OFF -
methodkey has to be defined, value has to bececorserial -
messageTypekey has to be defined, value has to bebyteorstring -
messagekey has to be defined, in case of bytes they have to be separated by an x
Toggle Hardware Accelerated Player syncronization and set PTP domain
Video synchronization only works with Hardware Accelerated Player enabled
Video synchronization is enabled by default on BrightSign devices, however you can disable/customize it using the configuration below. It will toggle Hardware Accelerated Player synchronization on Brightsign devices and/or sets ptp domain to be used for synchronization.
Disabling video synchronization
{
  "configuration": [
    {
      "type": "VIDEO_SYNC",
      "enabled": false
    }
  ]
}
Disabling video synchronization will clear any domain previously configured
Customizing domain of synchronization
BrightSign devices sync their system clock to the Leaders time under the same domain.
To prevent collisions and unexpected behaviour it is recommended to configure the same domain only on the devices that are playing the same content
{
  "configuration": [
    {
      "type": "VIDEO_SYNC",
      "enabled": true,
      "ptp_domain": 93
    }
  ]
}
- If
ptp_domainis not present in the configuration the player will use our default domain
enabledkey has to be defined, value has to be a non-empty booleanptp_domainis an optional field, value has to be a number, value has to be in between 0-127
Customizing address, port and status of synchronization
You can create separate sync groups for devices by configuring the address and port of synchronization for each device
Your can force sync status on devices by adding field status with value LEADER/FOLLOWER to the configuration
Leaders Configuration:
{
  "configuration": [
    {
      "type": "VIDEO_SYNC",
      "enabled": true,
      "ptp_domain": 7,
      "udpAddress": "224.0.126.11",
      "udpPort": 1515,
      "status": "LEADER"
    }
  ]
}
Followers Configuration:
{
  "configuration": [
    {
      "type": "VIDEO_SYNC",
      "enabled": true,
      "ptp_domain": 7,
      "udpAddress": "224.0.126.11",
      "udpPort": 1515,
      "status": "FOLLOWER"
    }
  ]
}
- If
udpAddressis not present in the configuration the player will use our default address - If
udpPortis not present in the configuration the player will use our default port - If
statusis not present in the configuration the players will decide status based on deviceIds
udpAddressis an optional field, value has to be a stringudpPortis an optional field, value has to be a numberstatusis an optional field, value has to beLEADER/FOLLOWER
Force HDCP version
You can configure the player to use either HDCP 1.4 (version should be 1) or HDCP 2.2 (version should be 2)
{
  "configuration": [
    {
      "type": "HDCP_VERSION",
      "version": 1
    }
  ]
}
versionkey has to be defined, value has to be a number
GPU Synchronization
Enabling this option alleviates artifacts and/or frame corruption when content goes through the GPU.
Note that this setting comes with a performance hit
- This option is only available on the
9.0.168firmware version - This option only affects for
HS5,LS5models
{
  "configuration": [
    {
      "type": "GPU_SYNC",
      "enabled": true
    }
  ]
}
Web View version
This option sets the version of the webview Brighsign players use to Chromium/120.
- Please note that Chromium/120 is still in Beta as of
9.0.168. - Please note that Video Synchronization is not yet compatible with
Chromium/120.
{
  "configuration": [
    {
      "type": "WEB_VIEW",
      "enabled": true,
      "version": "CHROME"
    }
  ]
}
versionkey has to be defined, and one of the following values:CHROME,QTWEBENGINE- Setting
enabledtofalseis the same as setting version toQTWEBENGINE
Media Player
The Chromium media player will be used instead and players will have hardware accelerated video decode inside HTML..
Series 4 and earlier players do not support hardware accelerated decode.
{
  "configuration": [
    {
      "type": "MEDIA_PLAYER",
      "enabled": true,
      "playerType": "CHROMIUM"
    }
  ]
}
playerTypekey has to be defined, and one of the following values:CHROMIUM,BRIGHTSIGN- Setting
enabledtofalseis the same as setting version toBRIGHTSIGN
Cursor
This configuration can be used to toggle cursor on brightsign devices. This setting is disabled by default
{
  "configuration": [
    {
      "type": "CURSOR",
      "enabled": true
    }
  ]
}