Legacy installation on Windows
This guide is for installation of Windows 3.xx client only. For latest installation guide please visit: Standard installation on Windows
Download the application
Before downloading our Windows client's installer please make sure you visit About our Windows Client page's Windows requirements section and ensure you have the necessary prerequisites for the installation.
Download from 1.x UI
You can download the latest version of our Windows Client from the editor interface, from Settings tab by selecting the Download menu and then selecting the x64 or x86 .exe installer file
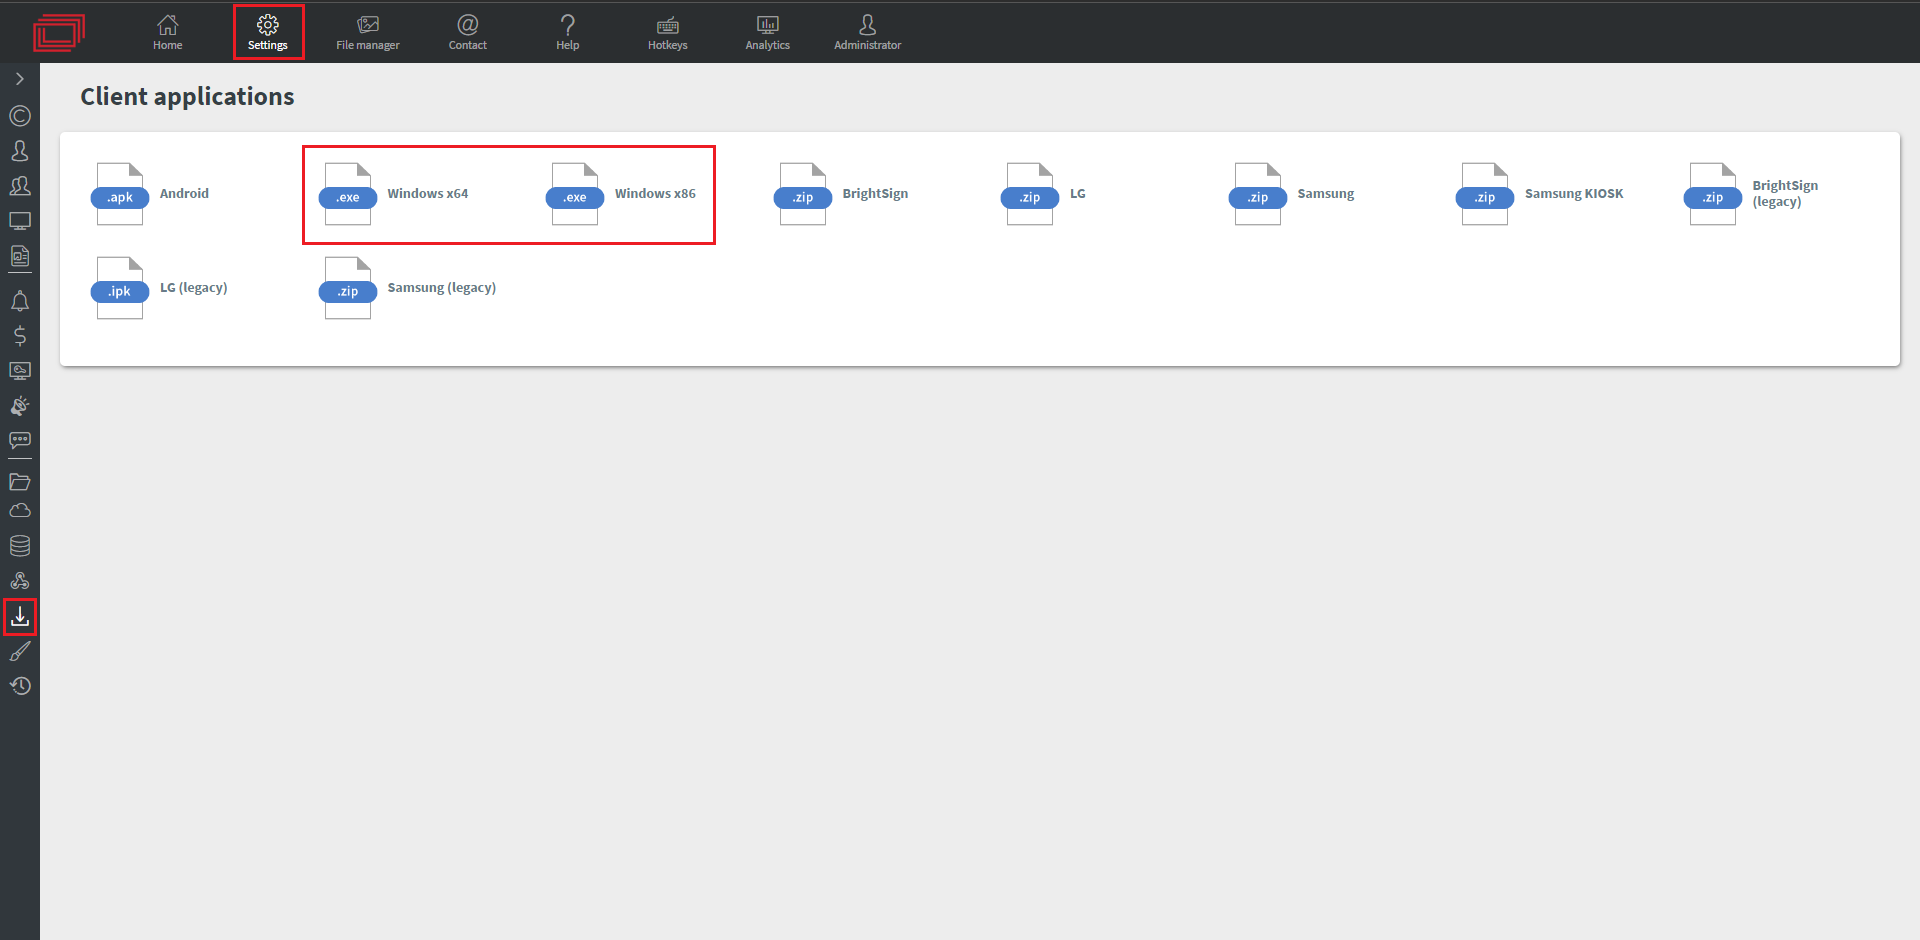
Download from 2.0 UI
Navigate yourself to Settings menu, select the Downloads
- Here you can find all the latest version of downloadable client application installer.
- You can download it by selecting the target platform.
Basic installation steps
- The first step of the installation is to specify the Server Address you want your client to connect to

- Selecting proxy settings You can specify a manual proxy if you need it in this step, or else leave it as it is by default.

- Customize the general application Settings

- If the
Allow auto updatesetting is selected our application will check for updates and update if needed every time the client starts up. - You can
Allow a virtual keyboardwhich will pop up if the customer enters an input field. - You can also give permission to
Always on topto have our application appear on top of other applications.
- Customize window mode
- Select the
Fullscreenmode in order to display the application on the entire screen. - Select the
Fullscreen over multiple screensmode to display the application over multiple screens- By default, if you have more than one screen connected to your computer it will be in extended mode

If you have selected fullscreen mode or extended fullscreen mode you'll be able to set the screen orientation.

Select the Windowed mode to display the application in a window.
- You can also allow your application to be Movable
For more information about Window modes visit the following article: Window modes
If you have selected the Windowed mode you can also set the screen resolution

And the startup position

- With the
Centeroption, the application will be displayed in the center of the screen. - With the
Left-topoption, the screen will be displayed in the top left corner of the screen.
- Set auto-start and device lockdown settings

- Enable the client to start the client application when the user logs in on the computer
- Disable windows built-in time sync to make sure windows does not change the time
- If you have selected one of the full screen modes, then you can Lock your device
For more information about Locking windows device visit the following article: Locking Windows device
- Select the destination location where the application will be installed

- Choose if you want shortcuts on your desktop

After pressing Next, and then Install you are done with installing the Wallboard Windows digital signage application.
Registering device
After the installation is complete you can register your screen in the editor interface with the four-digit code displayed on the screen.
For more information about registering a device visit the following article: Device registration