Standard installation on Windows
Download the application
Before downloading our Windows client's installer please make sure you visit About our Windows Client page's Windows requirements section and ensure you have the necessary prerequisites for the installation.
Navigate to the Settings menu and select Downloads.
- Here you can find all the latest version of downloadable client application installer.
- You can download it by selecting the target platform.
Basic installation steps
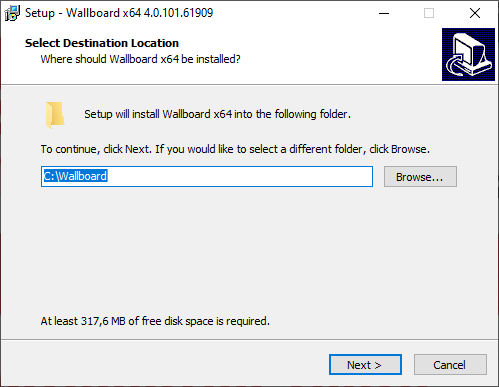
- The first step of the installation is to specify the destination location where the application will be installed
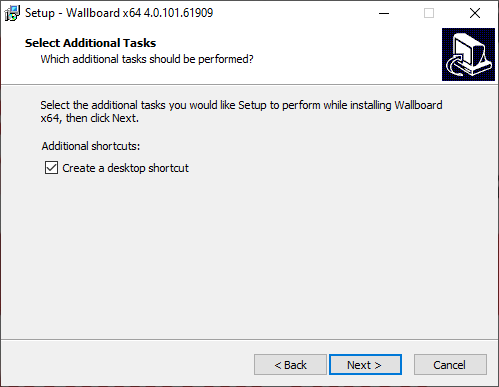
- Choose if you want shortcut on your desktop
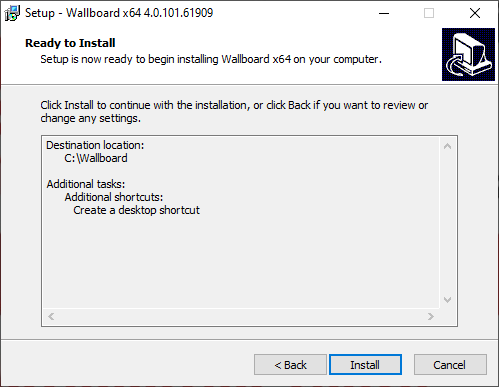
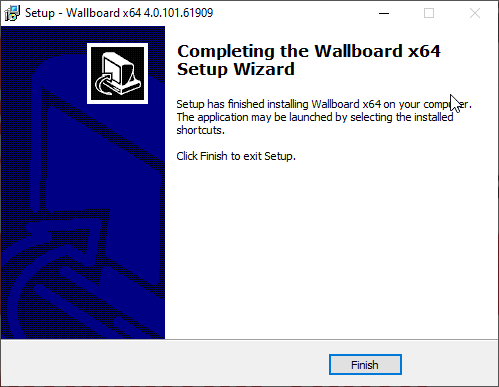
- Verify installation
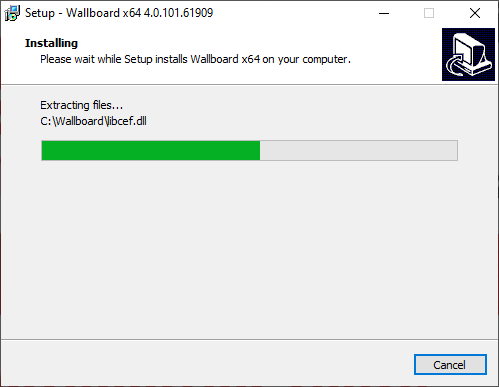
- Wait for installation to finish
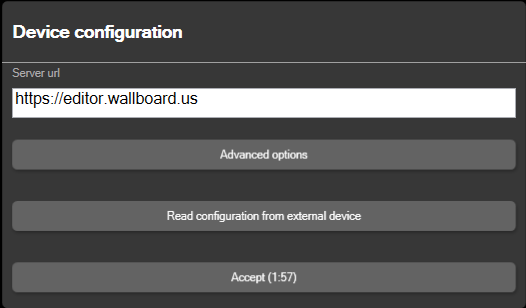
- When you open up the Windows client with the shortcut you will be greeted with the Device configuration options of the client
You may need to change the server URL, the default is https://editor.wallboard.info
Advanced installation configuration
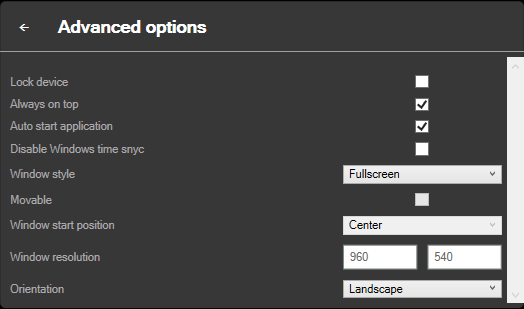
- In Advanced options you can set up additional options for the client's behavior
- You can give permission to always have our application appear on top of other applications
- Enable the client to start the client application when the user logs in the computer
- Disable windows built-in time sync to make sure windows does not change the application's time
- If you have selected one of the full screen modes, then you can Lock your device
For more information about Locking windows device visit the following article: Locking Windows device
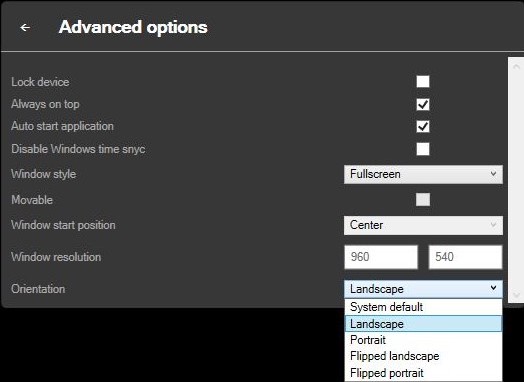
In "Window style" you can select from multiple options
- Select the Fullscreen mode in order to display the application on the entire screen.
- Select the Fullscreen over multiple screens mode to display the application over multiple screens
- By default, if you have more than one screen connected to your computer it will be in extended mode
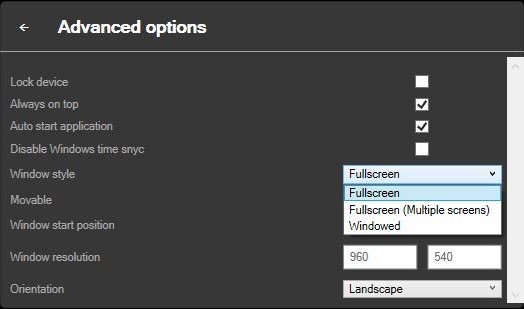
Select the Windowed mode to display the application in a window.
- You can also allow your application to be Movable
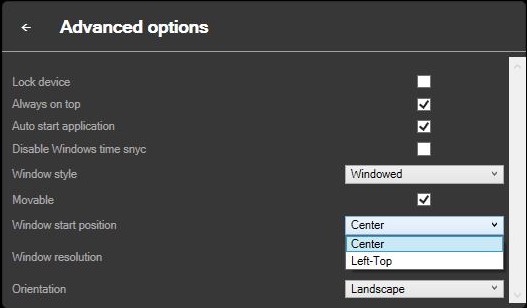
- If you have selected the Windowed mode you can set the screen resolution and the startup position.
- With the Center option, the application will be displayed in the center of the screen.
- With the Left-top option, the screen will be displayed in the top left corner of the screen.
You will also be able to set the screen orientation
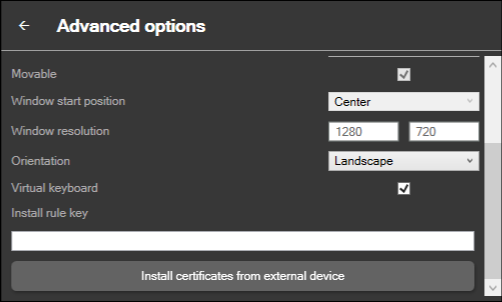
Install certificates from external device
Open a file explorer where you can choose custom certificates to install. Supported certificate formats: .pem, .crt, .cer.
Registering device
After the installation is complete you can register your screen in the editor interface with the four-digit code displayed on the screen.
For more information about registering a device visit the following article: Device registration
Legacy installation
If you have a lower than 4.0 version of our windows client you need to visit the following article Installation of Windows 3.xx