How to use widget translations
This article introduces you to the usage of translations on widgets.
Introduction
In this article we are going to guide you through an example of translating a text widget by using touch interactions.
Creating the widgets
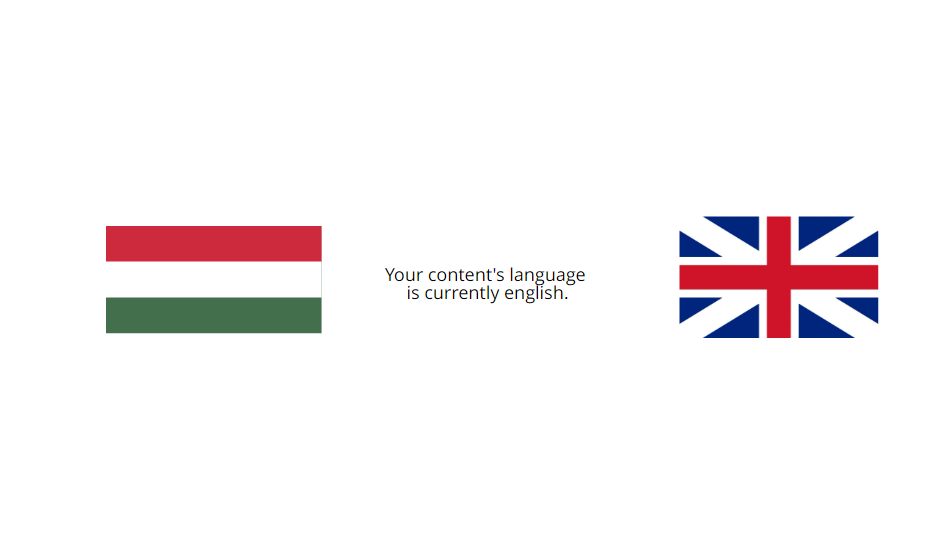
We've added three widgets to our content screen to demonstrate the usage: A text widget(our written content) with the text and two image widgets(our language selection flags). The end goal is to alter the written content's language depending on which flag the user interacts with.
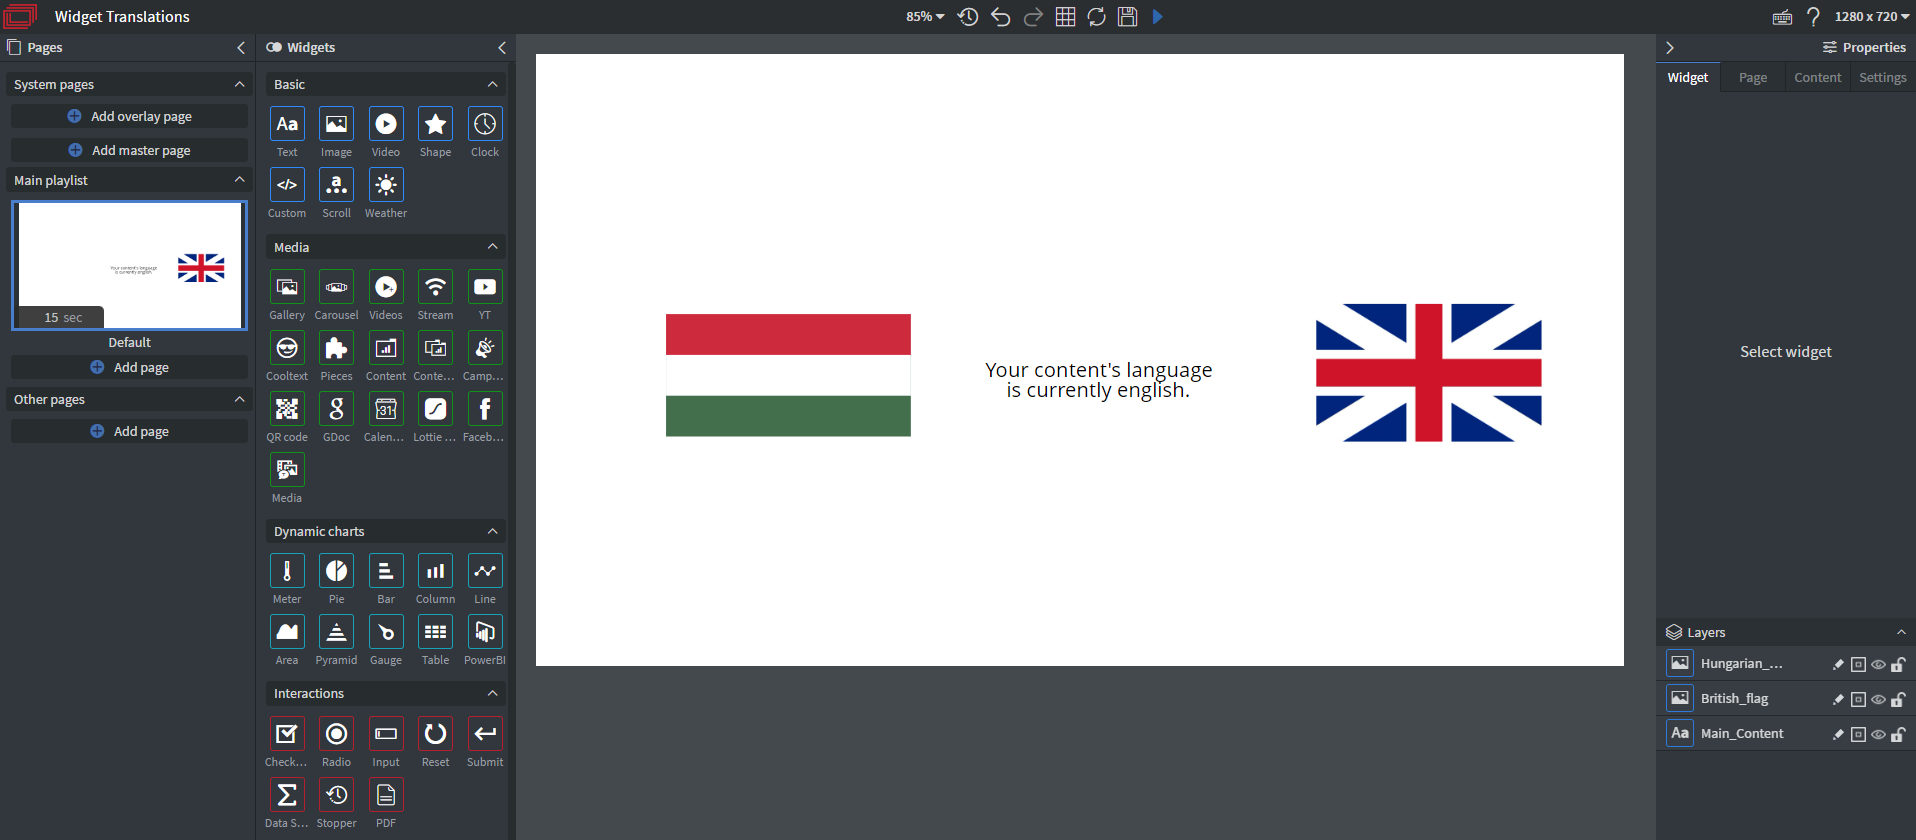
The text written inside the text box will be our default language.
Translating the text widget
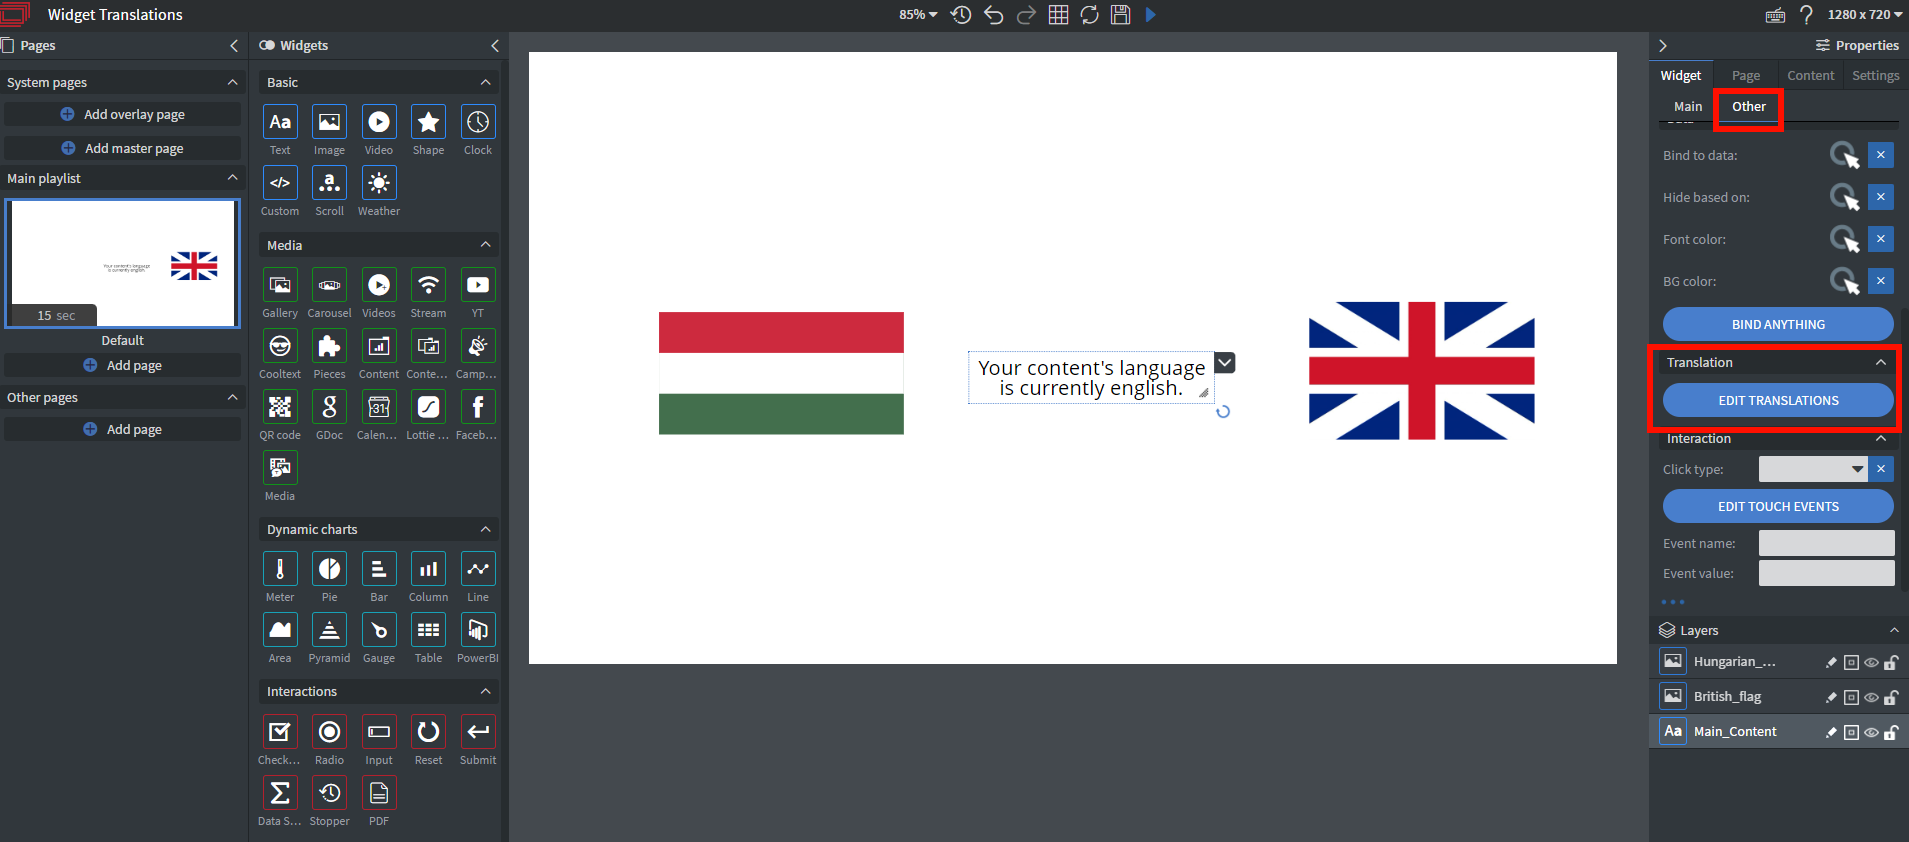
To set a translation for this specific box select it and click the blue EDIT TRANSLATIONS button under the other tab.
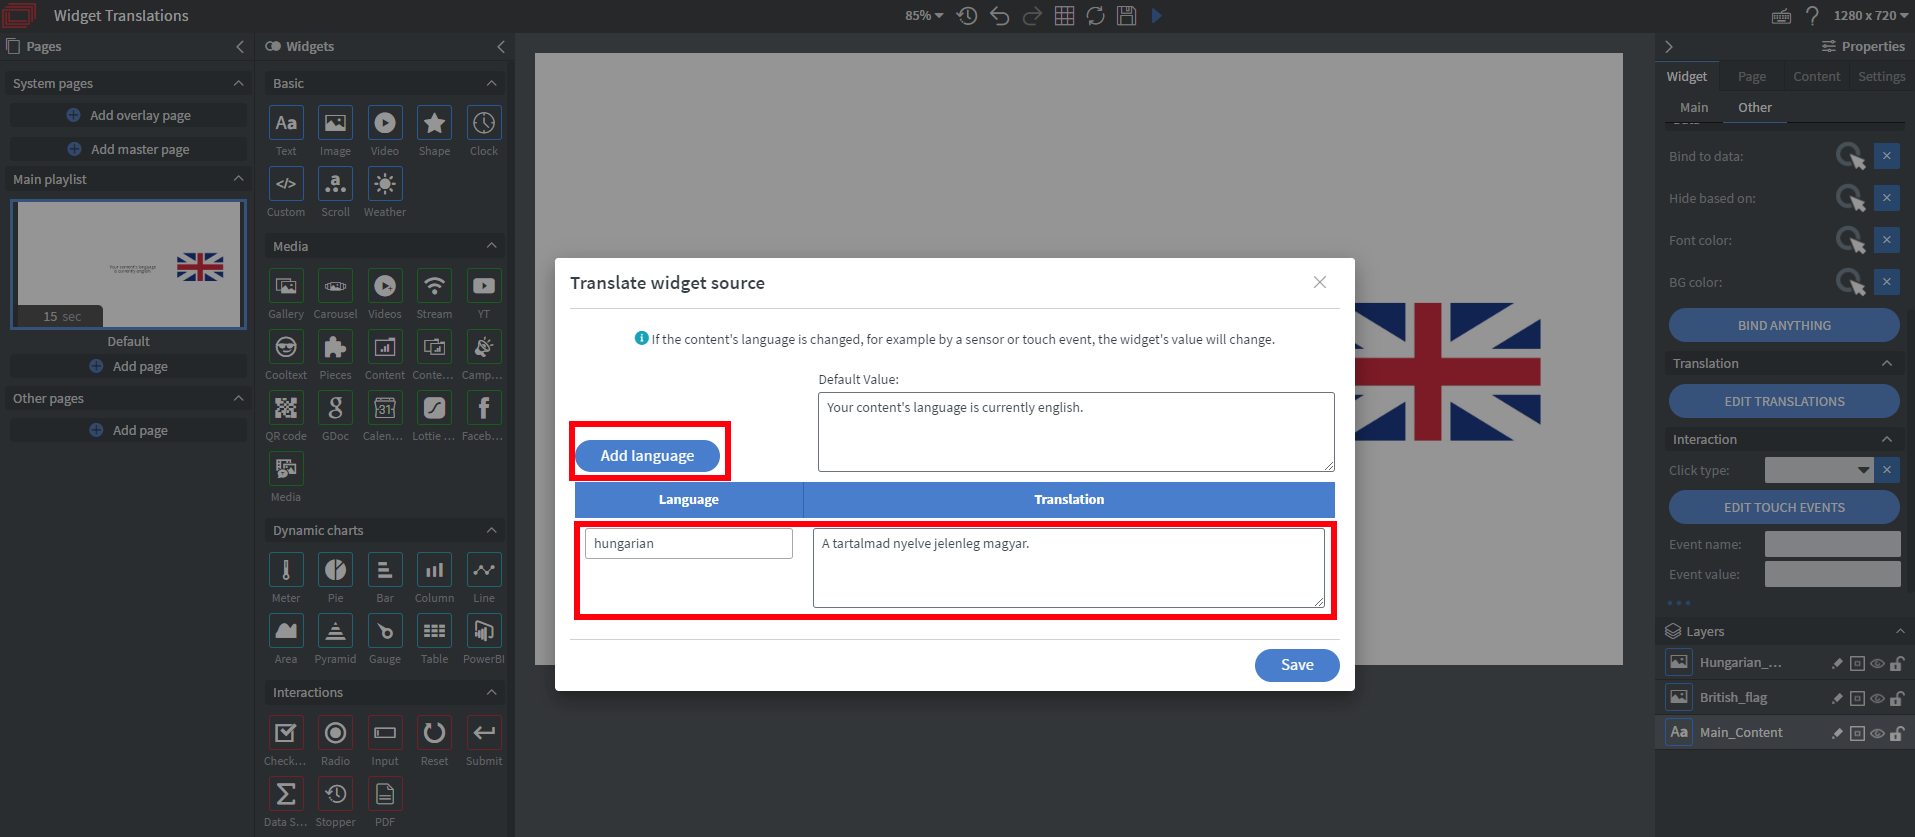
Here you can translate your default text to the language you desire and even add multiple translations for the same widget.
Don't forget to save when you've finished editing!
Configuring touch interactions
With the translations complete let's set up our interactions. This will enable the users to easily switch between languages by clicking the flags.
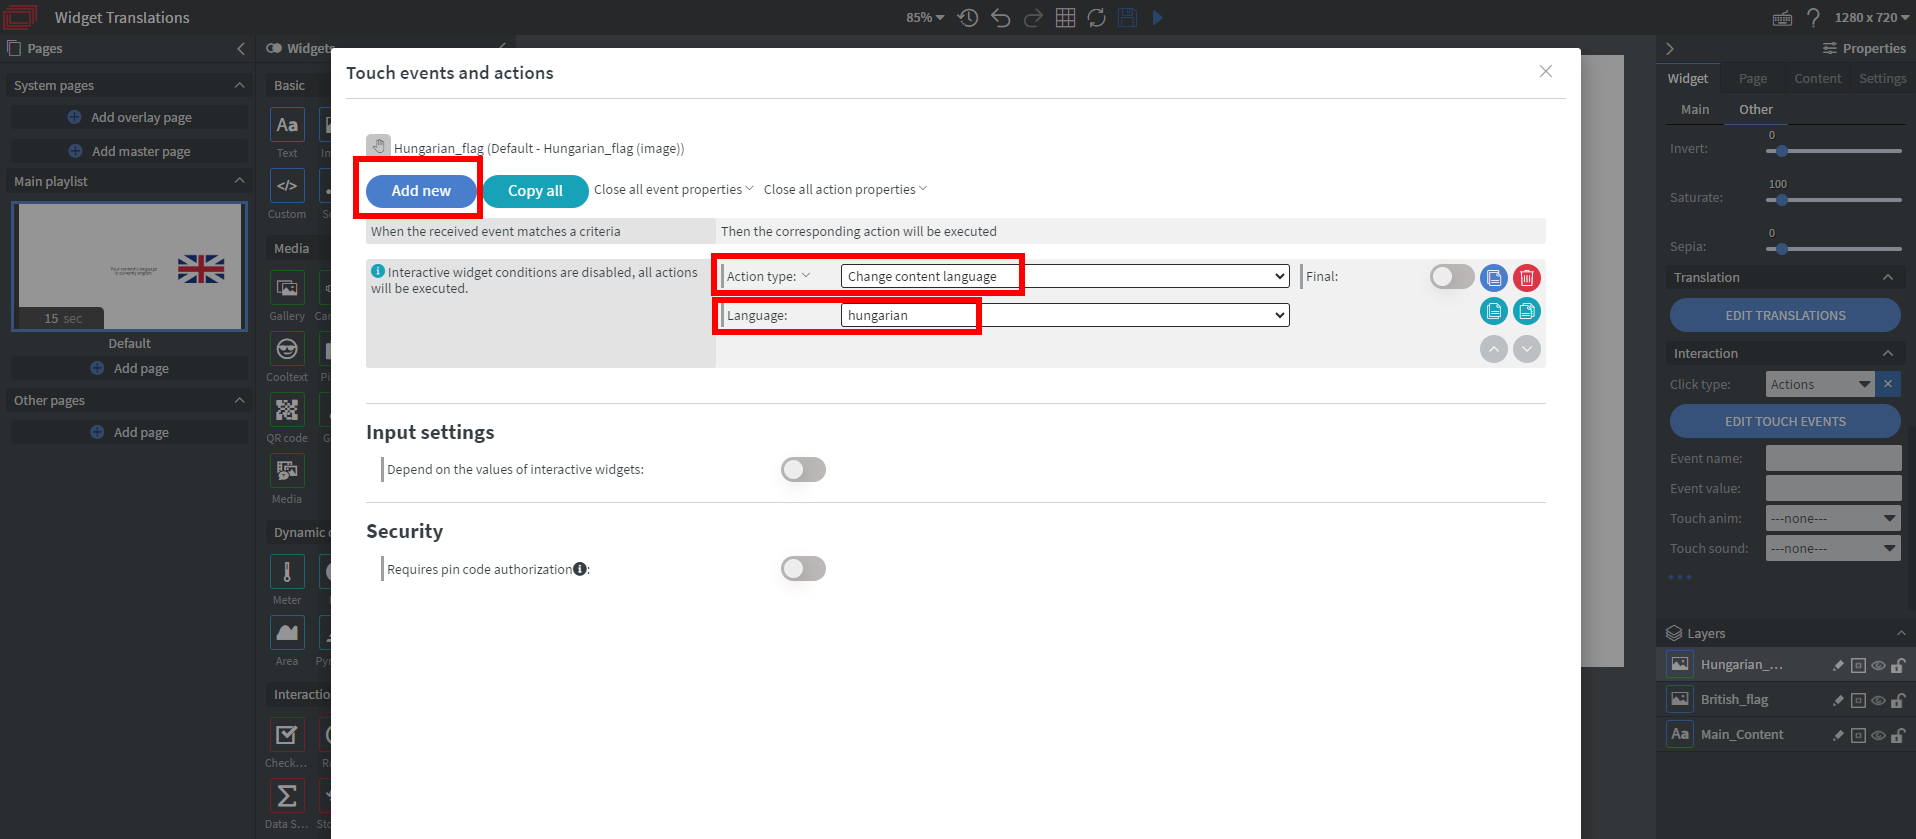
First we select the Hungarian flag on the left then click the blue EDIT TOUCH EVENTS button under the other tab.
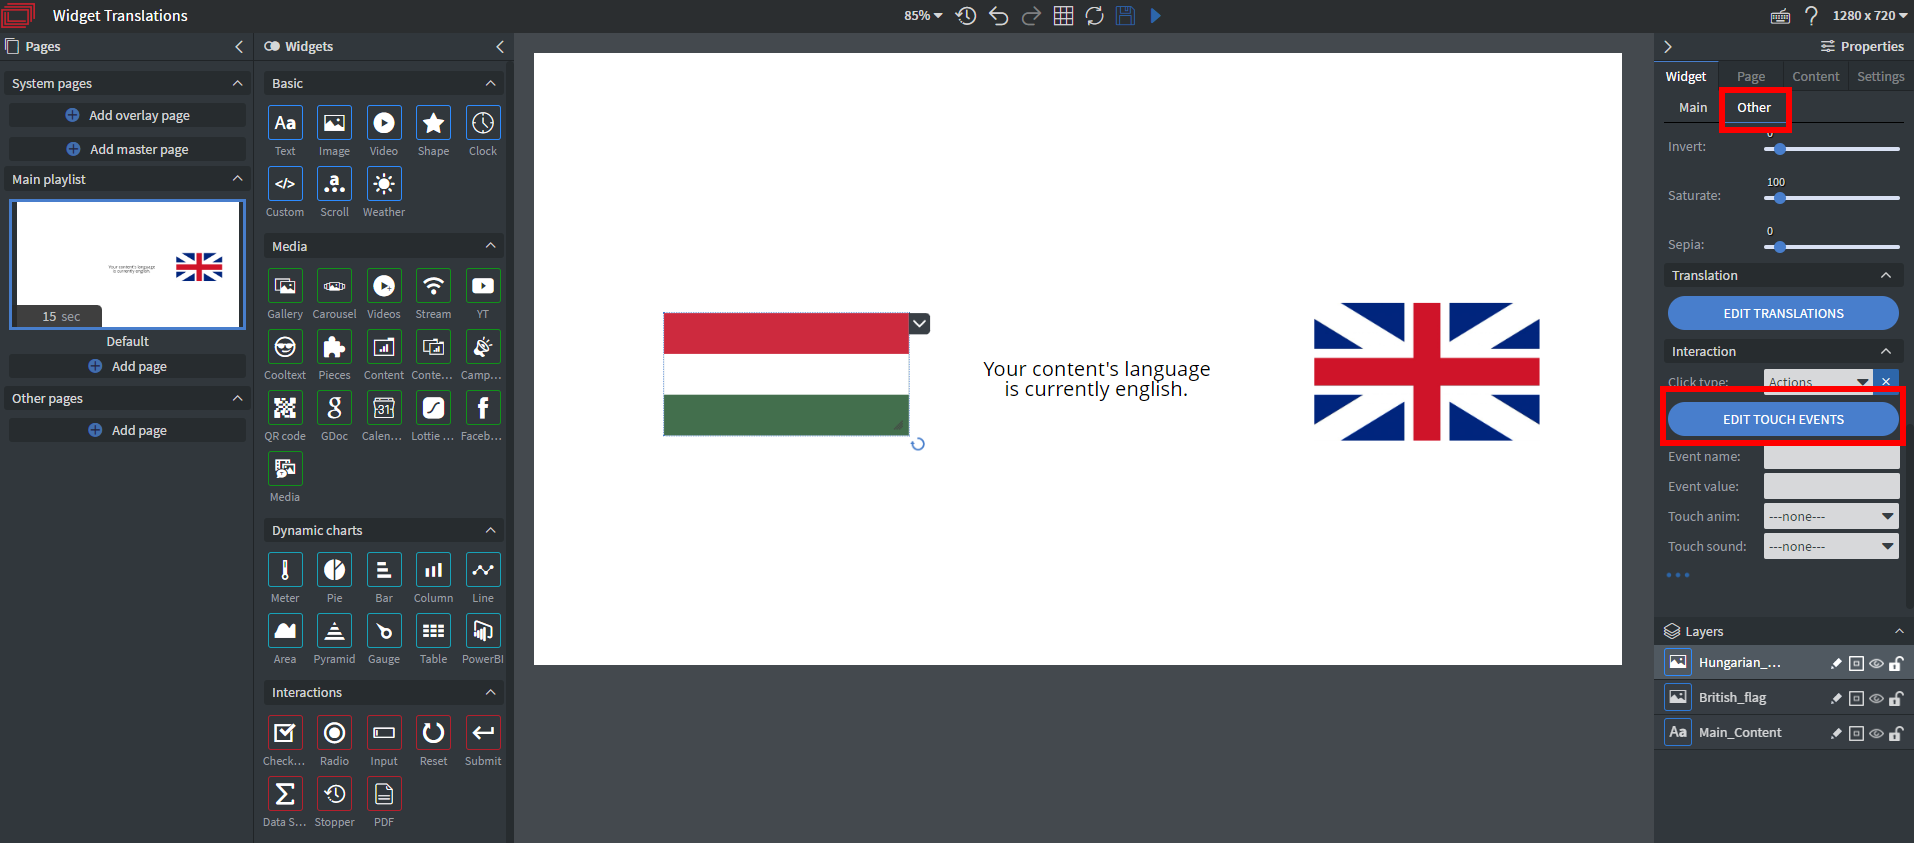
By clicking Add new we can add a new action called change content language and set our language to Hungarian then click Save.
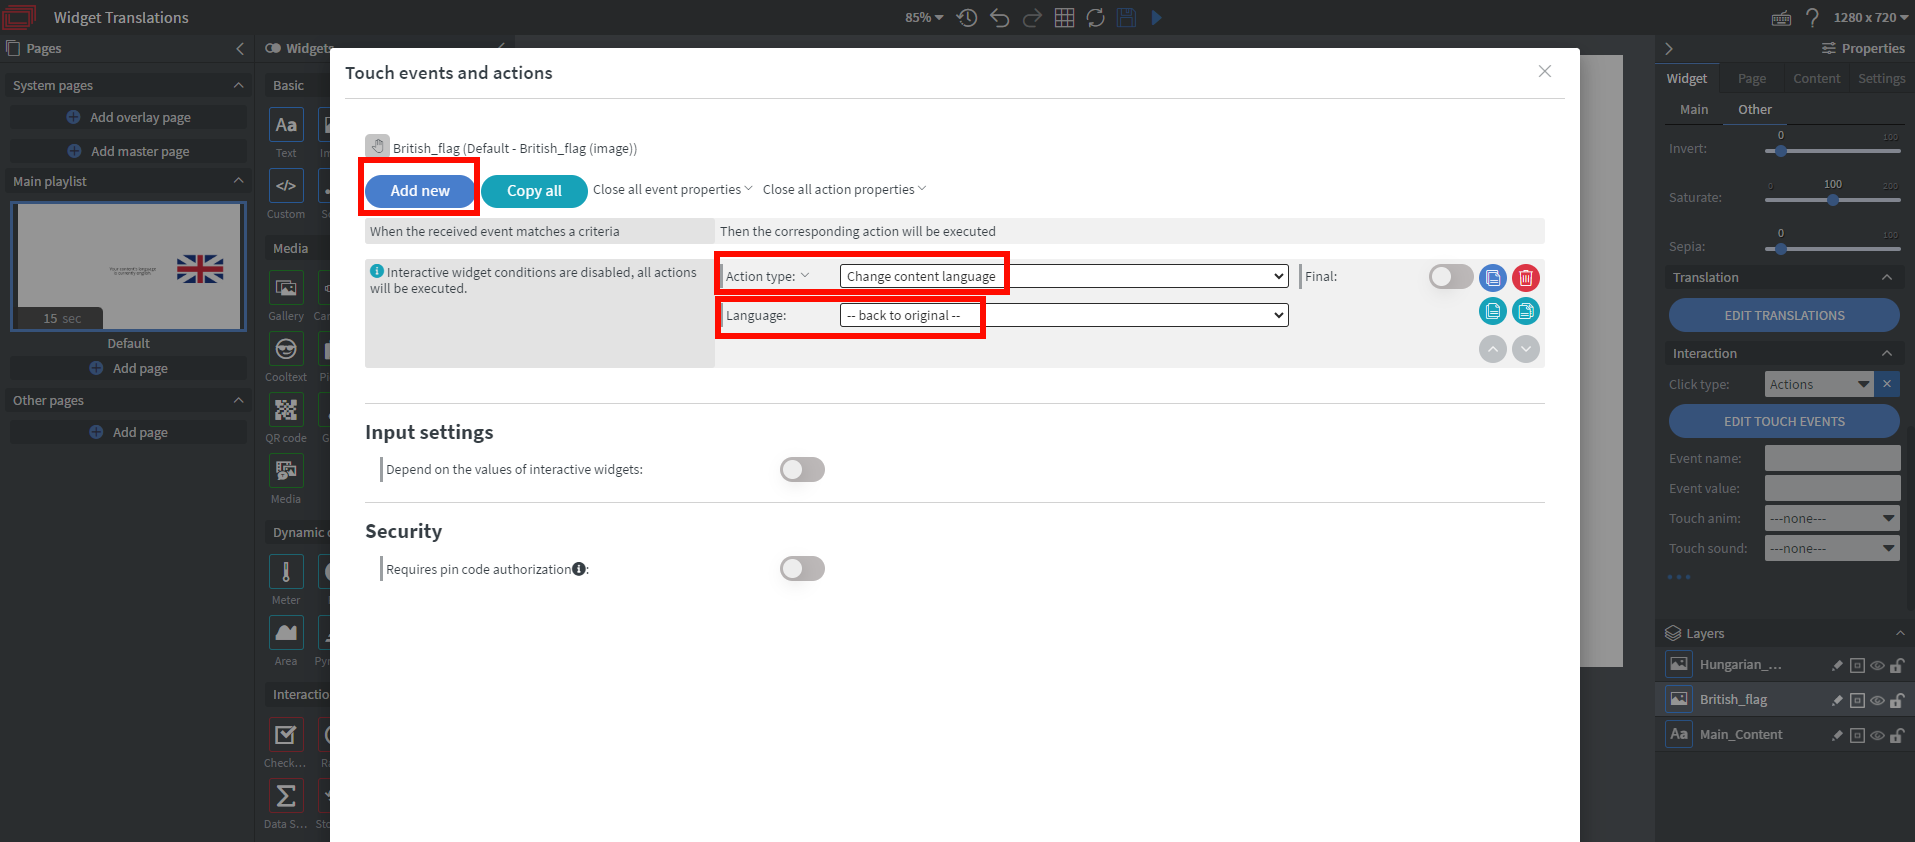
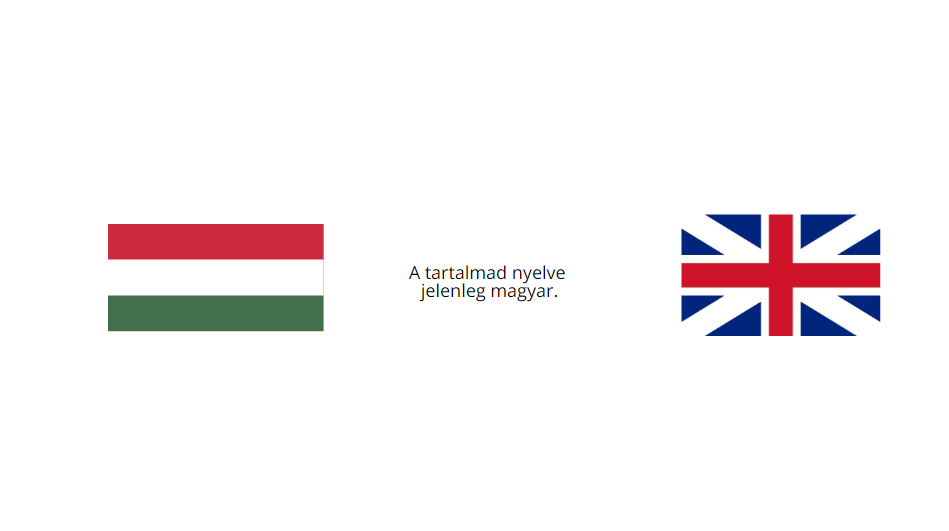
Now when a user selects the Hungarian flag, the content language switches to Hungarian. To be able to interact with the English flag as well we have to repeat the same process, only this time set our language to --back to original--.
We're all finished! You can test the content by deploying it on a screen and clicking the flags. The text should change depending on which flag you've interacted with.
If you have further questions please do not hesitate to contact us at support@wallboard.info. Happy editing!
