Synchronizing files vith validity date
File validity can also be synchronized only through Sharepoint shared folders.
Providing files with validity requires the creation of two date columns in SharePoint, one that has the start and one that has the end date.
How to add validity to files in sharepoint?
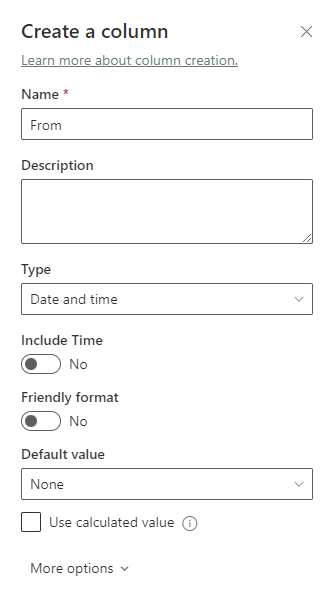
Go to Add column
- Select
Datethen a window will pop up for you to name it. - To avoid confusion, name them like the following:
FromandToorStartandEnd.
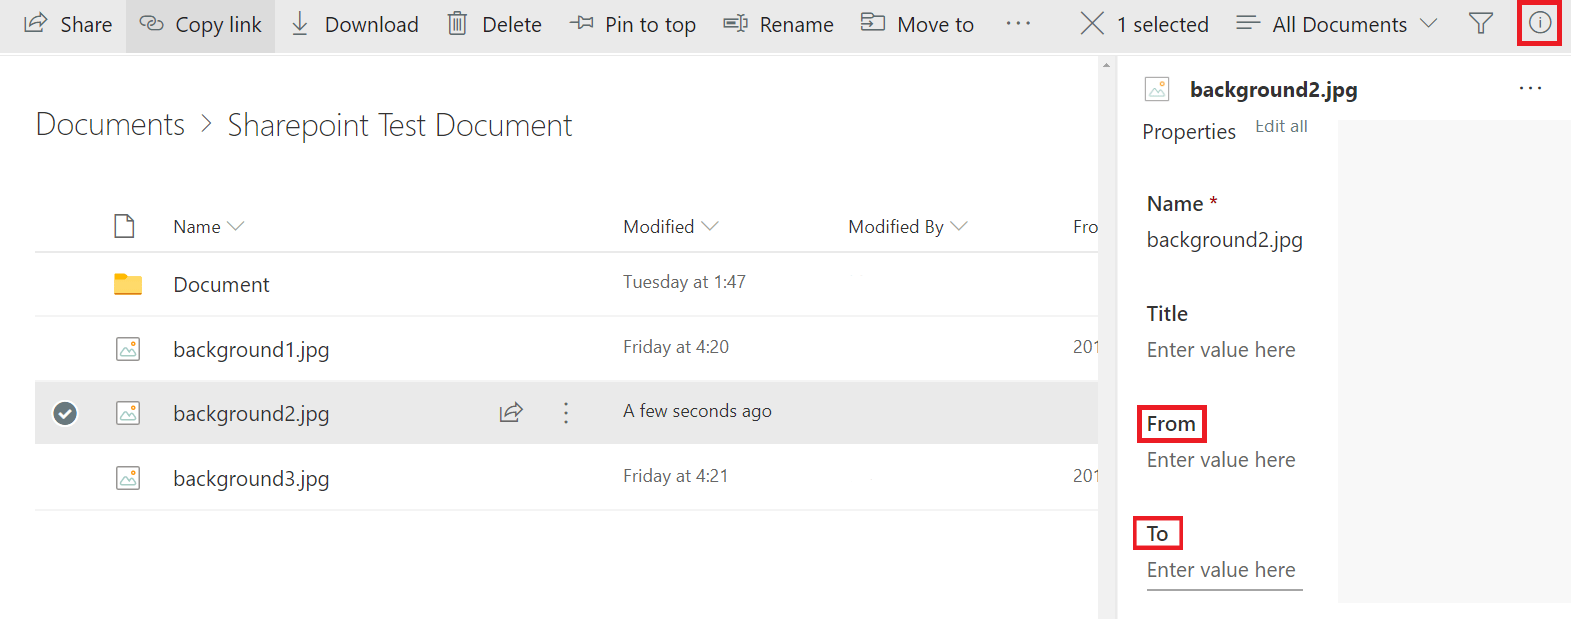
Open file in details
- Select the file, go to
Open in details modal - Scroll down and you will find the names of the created columns.
Fill the validity fields
- When you click
Enter value hereyou can write down the date or use the date picker.
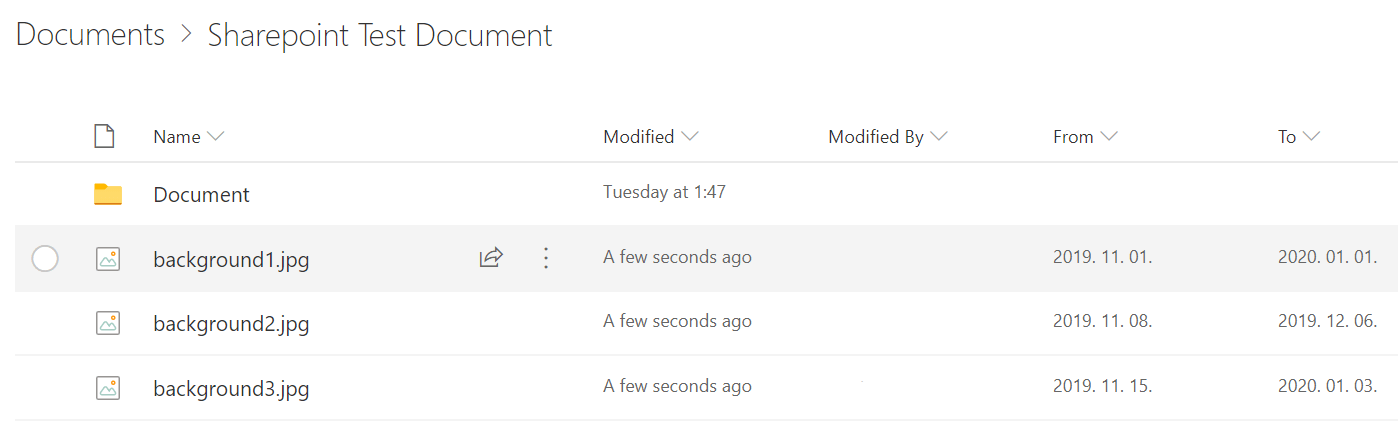
Check extra columns
When you are done setting the validity of the desired files the file manager of SharePoint will look like this:
Create credential for the integration
To access and sync your files from SharePoint, you will need a "Work & School account" tenant type credential.
Learn more: Create Microsoft Cloud Credential
If you use access list on your credential, please make sure you select all the correct folders you wish to connect as a shared folder, otherwise the folder will not appear in the connection settings, as a selectable folder!
Connect shared folder in Wallboard
Navigate to the Files menu in the wallboard portal to continue the integration.
- Click on the button next to the Files header.
- Select
Connect Microsoft OneDrive folder - Select the credential you previously created, and define the target folder or team settings if necessary
- Click on Continue, then you will enter the
Connection settingsmodal
Validity
If you selected the correct tenant type for your credential, validity fields will appear under the file type selector.
- Enter the exact FIELD NAMES of the validity columns to these input fields.
- In our case it is From and To
Otherwise, the given validity will be lost after the sync.