Managing Network Users
The Network Users interface is your central location for managing all user accounts across your network.
From here, you can create new users, assign them to specific network members, set their roles and permissions, and monitor their activity—all in one place.
Prerequisites
- Network Owner (Partner) account
- An Administrator user with access to network members
Learn more: User Management Permissions
Creating New User
Below is a quick overview of the different user access levels available in your network and the methods for creating them.
For detailed instructions, see our complete guide on user creation here:
Learn more: Creating Users
User Access Levels
-
Partner Portal Users:
- Partner System-Level Administrators - Have "Access Network Member" privilege, can access multiple member portals, and can create users at all three levels: network-wide administrators, partner portal users, and member-specific users.
- Partner Portal-Level Users - Do not have "Access Network Member" privilege, cannot access member portals, and can only create network-wide administrators and partner portal users.
-
Client Portal Users:
- Client Portal-Level Administrators - Created within a specific member workspace, can only access their assigned portal, and can create other client portal administrators and users.
- Client Portal-Level Users - Cannot access multiple portals or create any users.
User Creation Methods
There are three ways to create users depending on who you're creating them for:
- Partner Portal > Settings - Use this to create Partner system administrators and Partner portal users who manage the Partner system.
- Partner Portal > Network - Use this to create Member portal users from a centralized location (Partner System Administrators only).
- Client Portal > Settings - Use this to create users who only need access to one specific client portal. Client administrators can use this method, but Partner administrators should use the Network option instead to avoid switching between portals.
Users cannot be moved between members! If a user needs to be assigned to a different member, you must remove them and re-register under the correct member workspace.
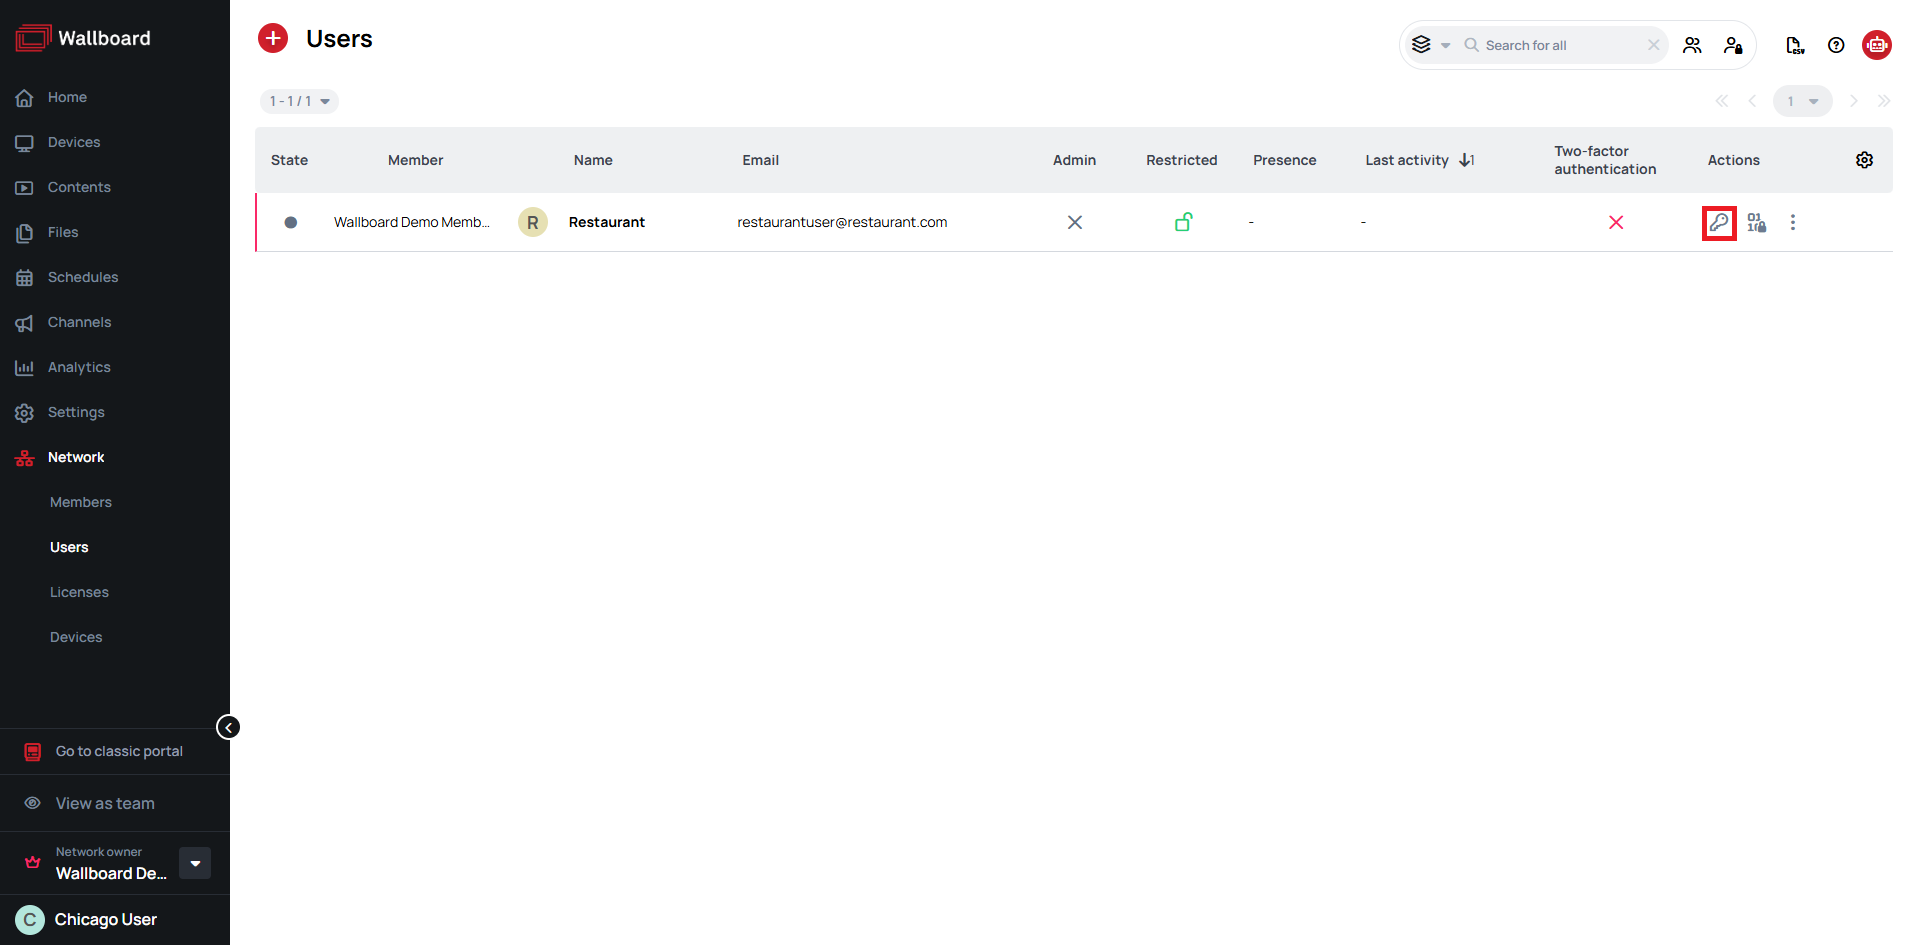
Reset Password
- Navigate to Network > Users
- Locate the user in your network users list
- Click the next to their entry
- In the appearing modal give the new password
- Confirm the new password again
- Click Save
When you change a user's password this way, the system does not send any notification to the user. You'll need to inform the user of their new password separately.
Set PIN
- Navigate to Network > Users
- Locate the user in your network users list
- Click the next to their entry

- In the appearing modal give the new PIN code
- Confirm the new PIN code again
- Click Save
You can also clear the user's PIN number by toggling the Reset PIN code slider.
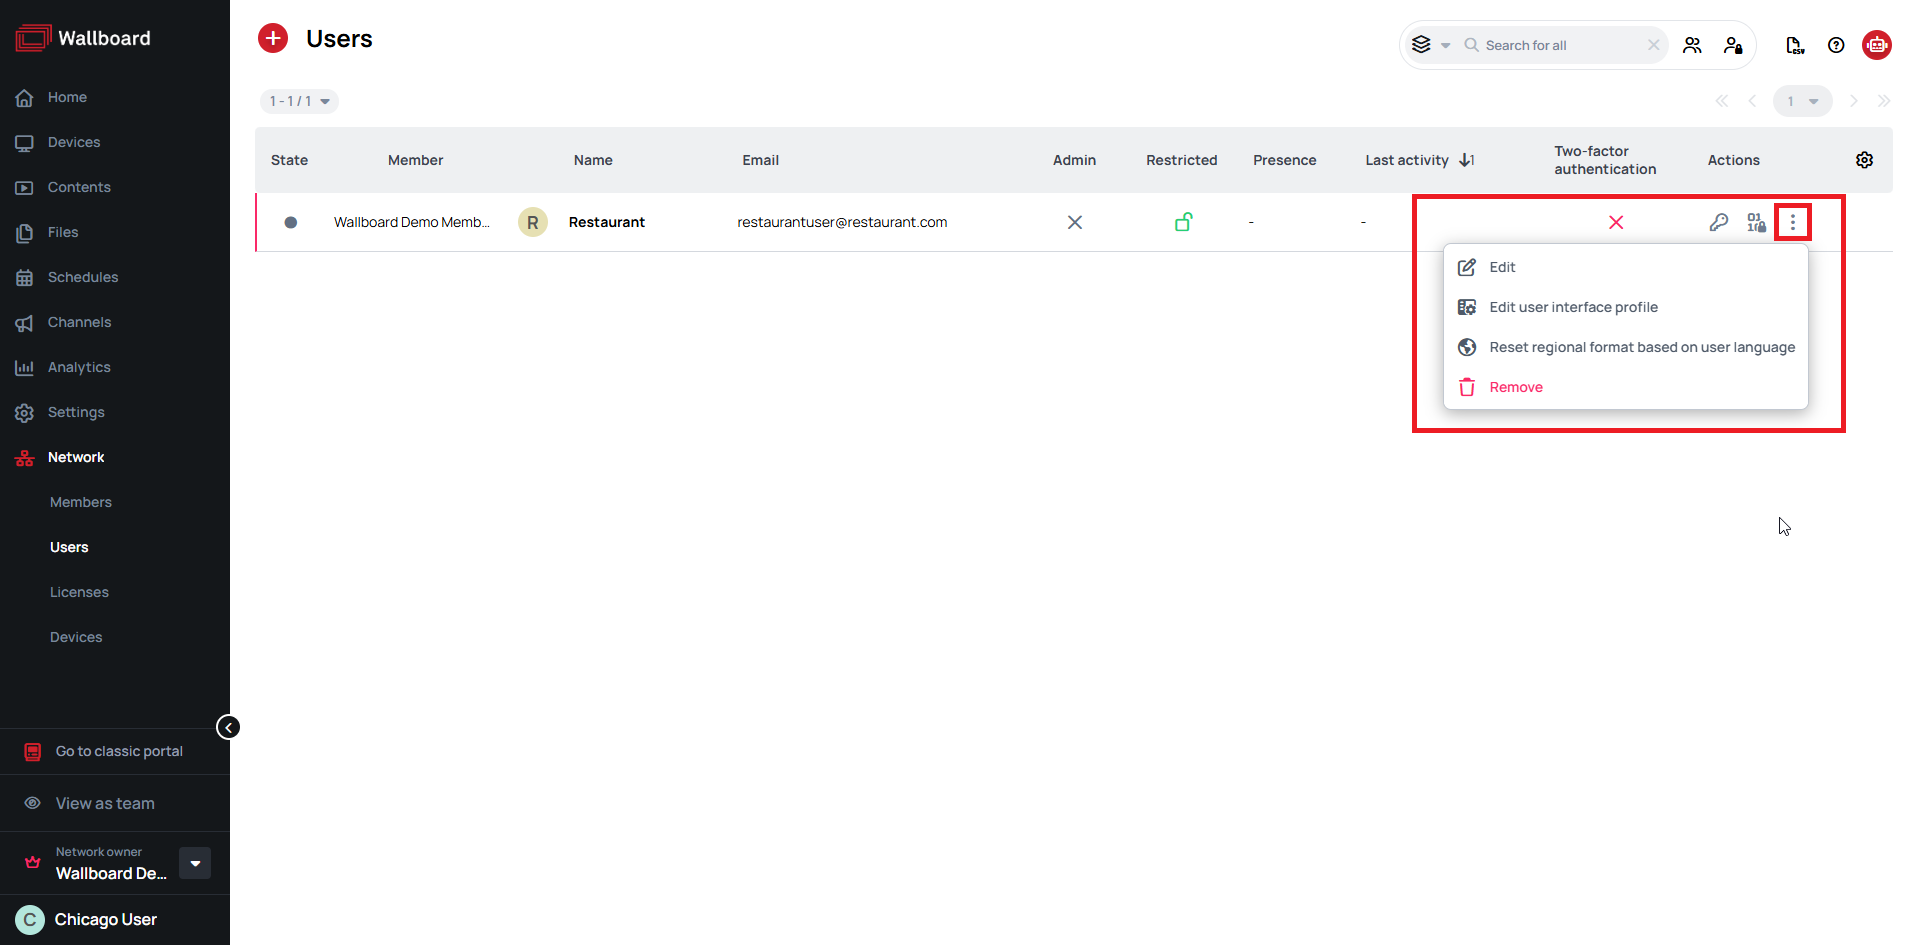
Edit User Information
- Navigate to Network > Users
- Locate the user in your network users list
- Click on the at the end of the user list item
- Click the next to their entry
- Modify any of the available fields:
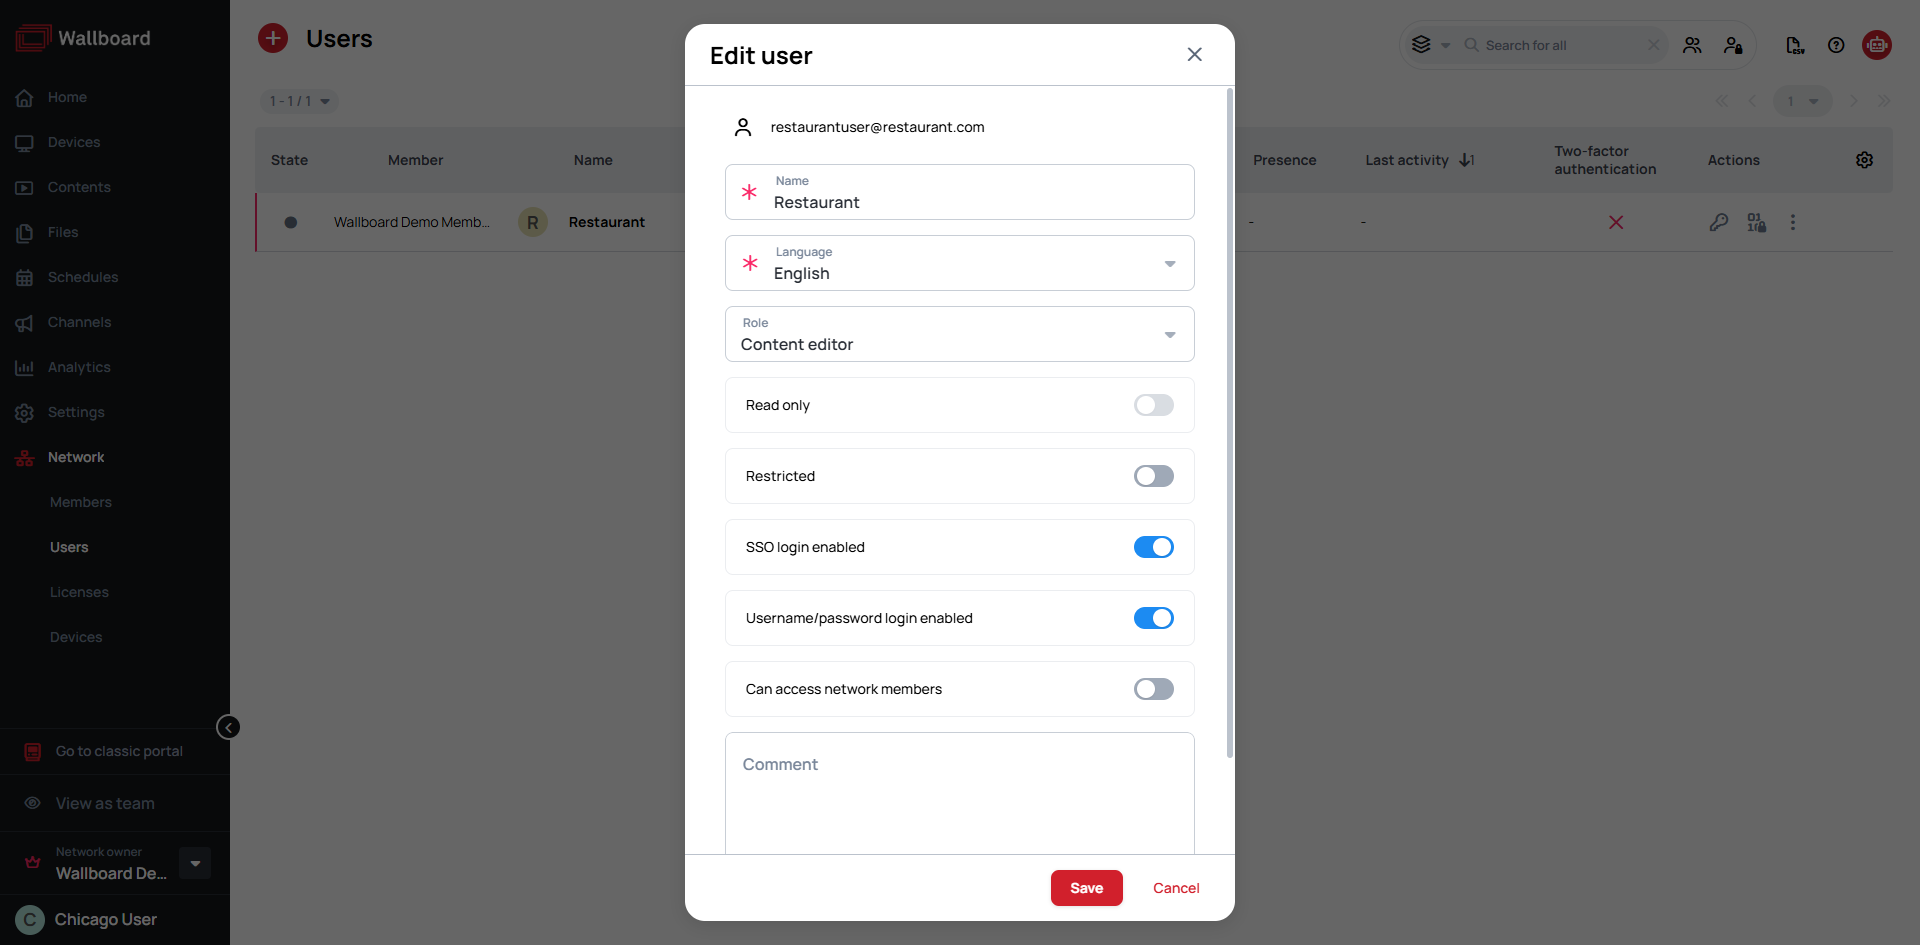
- Name - Update user name
- Language - Set user's language
- Role - Adjust their permission level as needed
- For more settings visit: User Menu
- Click Save to confirm your updates
For member-level user management visit our guide:
Learn more: Settings - Users
Changing User Permissions
Modifying User Role
- Navigate to Network > Users
- Locate the user in your network users list
- Click on the at the end of the user list item
- Click the next to their entry
- Select the new role form the dropdown menu
Role modifications become active instantly.
However, users may need to refresh their browser or log back in to access their new permissions.
Learn more: User Roles
Restrict User Access
Rather than permanent deletion, you can temporarily disable user access while preserving their account and associated data.
- Navigate to Network > Users
- Locate the user in your network users list
- Click on the at the end of the member list item
- Click the next to their entry
- Check the Restricted option
- Save your changes
Restricted accounts have the following characteristics:
- Users cannot log in through any authentication method
- Any active sessions terminate immediately upon restriction
- All account information and audit data remain preserved
- Accounts can be easily reactivated when access is needed again
User Interface Profiles
In addition to standard role-based permissions, you can fine-tune the user experience by controlling which interface elements each user can see.
- Navigate to Network > Users
- Locate the user in your network users list
- Click on the at the end of the user list item
- Click the Edit user interface profile option next to their entry
- Customize visibility settings for specific features and menu items
- Save your changes to implement the custom interface restrictions
Learn more: User Interface Profile Settings
Remove Users
When user accounts are no longer needed, you can permanently remove them from the system.
- Navigate to Network > Users
- Locate the user in your network users list
- Click on the at the end of the user list item
- Click the next to their name
- Confirm the deletion in the confirmation dialog
Important considerations when removing users:
- All content they created remains in the system unchanged
- Content ownership must be manually reassigned to other users
- Consider using account restriction instead of deletion to maintain complete audit trails