How to setup Nexmosphere's XT-B4 push buttons
In this example We use a Nexmosphere XN-185, XT-B4, and Push buttons.
Setup & Configuration
- Attach the sensors to the device where you want to use them.
- Navigate to Devices menu, then select the device where you want to use the sensors.
- Open the device settings by clicking on the icon
OR
- Click on the device card, then Select Settings tab
- Find sensor settings, then set the following sensor configuration:
{
  "services": [
    {
      "uid": "NEXMO",
      "type": "GENERIC",
      "connection": {
        "baudrate": 115200,
        "port": "2"
      },
      "settings": {
        "rules": [
          {
            "pattern": "(\\w\\d{3}\\w)\\[(\\d*)]\r\n",
            "eventGroupIndex": 1,
            "valueGroupIndex": 2
          },
          {
            "pattern": "(\\w\\d{3}\\w)\\[(TR|TD)=UID:([A-Za-z0-9]*)]\r\n",
            "idGroupIndex": 1,
            "eventGroupIndex": 2,
            "valueGroupIndex": 3
          },
          {
            "pattern": "(\\w\\d{3}\\w)\\[(\\w*)=([A-Za-z0-9]*)]\r\n",
            "idGroupIndex": 1,
            "eventGroupIndex": 2,
            "valueGroupIndex": 3
          }
        ]
      }
    }
  ]
}
-
The pattern regexp determines the format of received messages.
-
Attach the buttons to the Nexmosphere XT-B4 interface.
-
Attach the Nexmosphere XN-185 controller to the Android device.
-
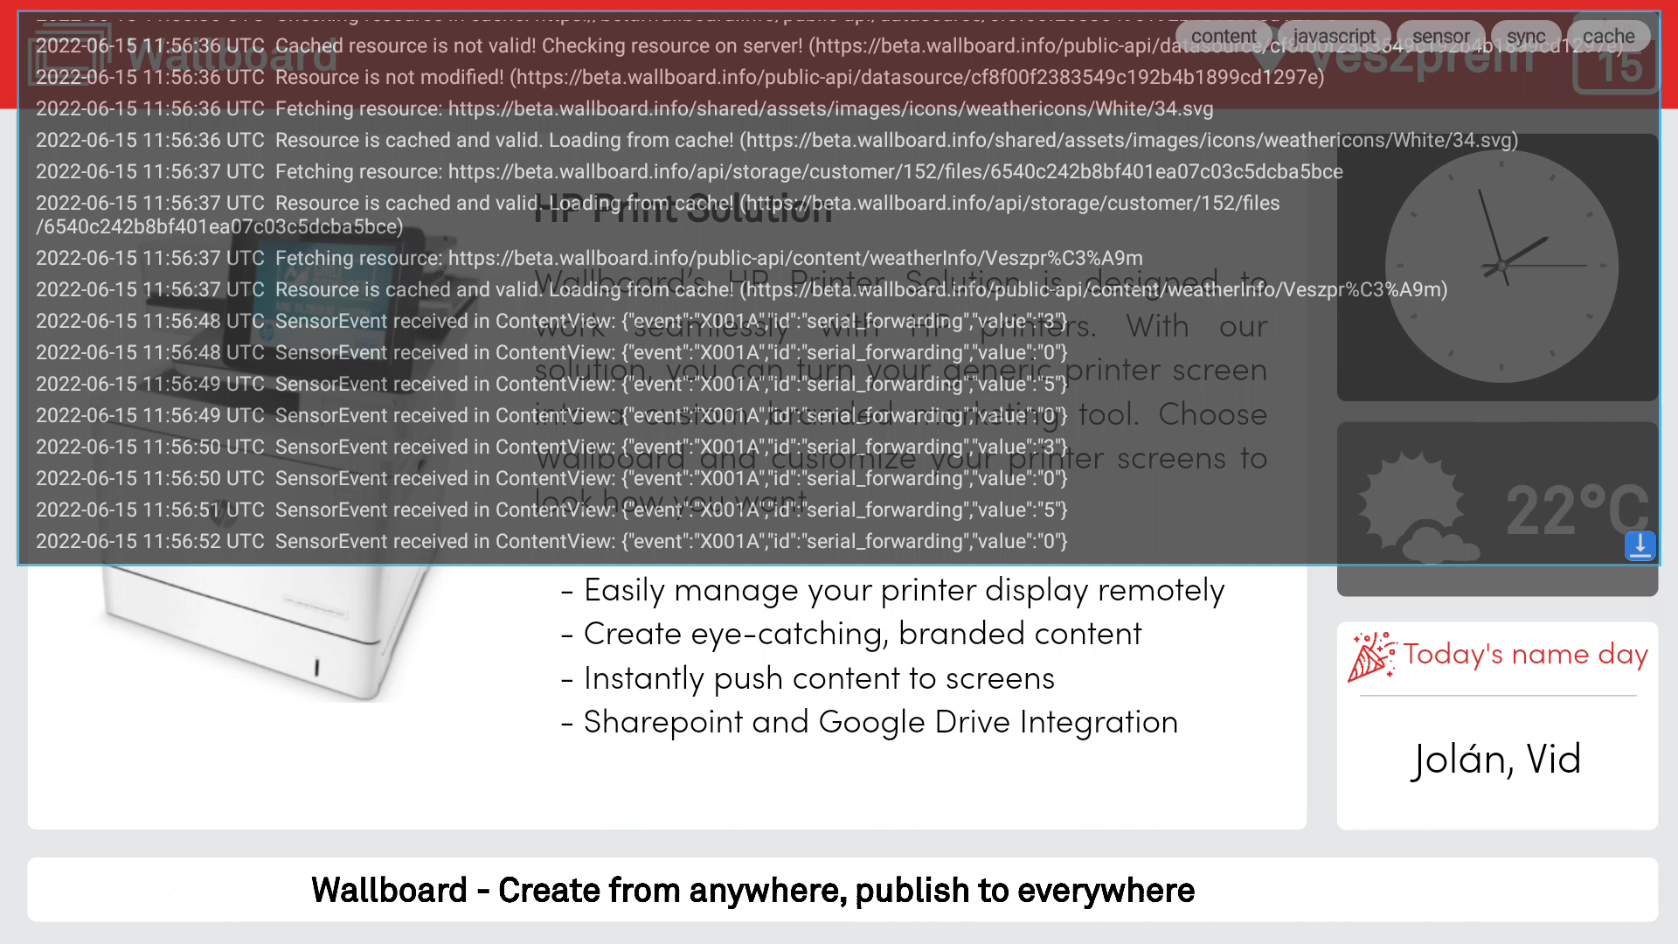
Open a console on the Android device from the Wallboard CMS and check if the events appear after pressing the button
Create content
-
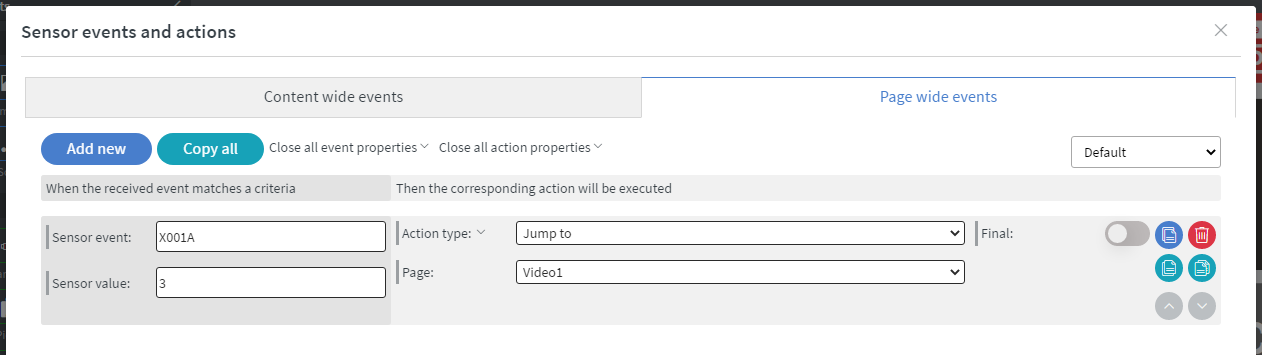
The main concept will be the buttons switch pages, and an image widget sends back message to the Nexmosphere controller
-
First we set up the received message handling under the Content properties Edit sensor events section
Received values
Received message: { " event " : " X001A " , " value " : " 3 " }
Received message: { " event " : " X001A " , " value " : " 5 " }

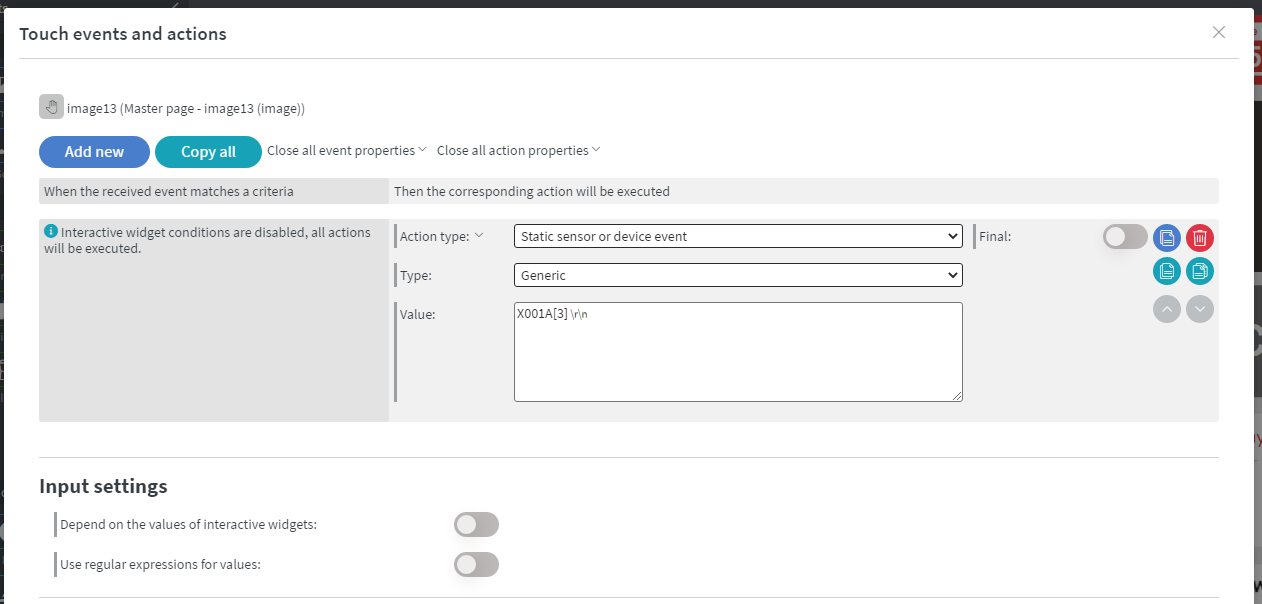
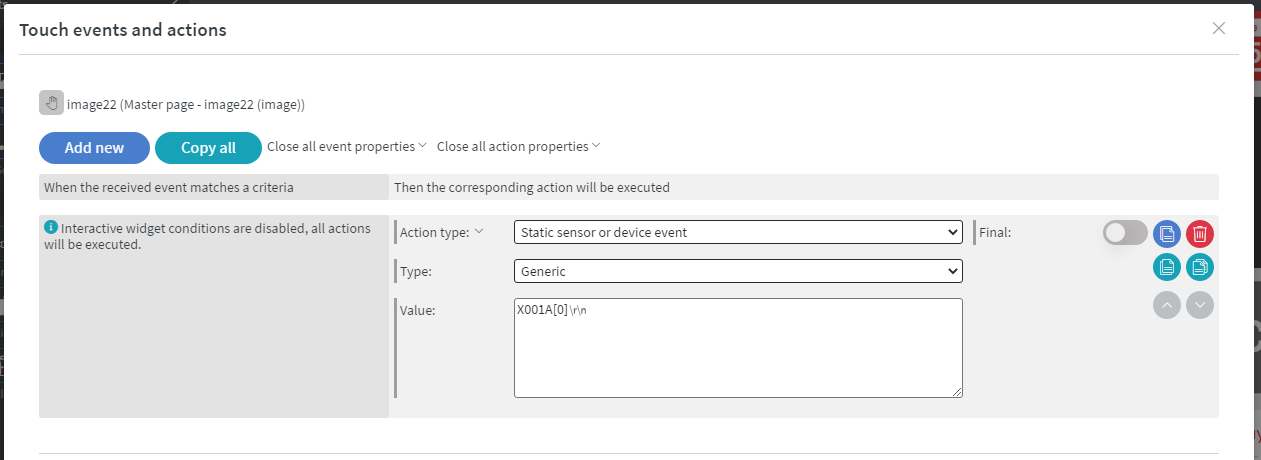
- Now set up the event sending on the image widget. When the widget is interacted it will send the value to the Nexmosphere controller.
Turn on "button 3" light
Turn off all button lights
Now everything is set up. Assign the content to the screen and try out the concept by pressing the buttons and the images