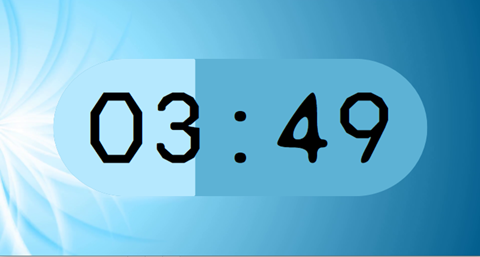
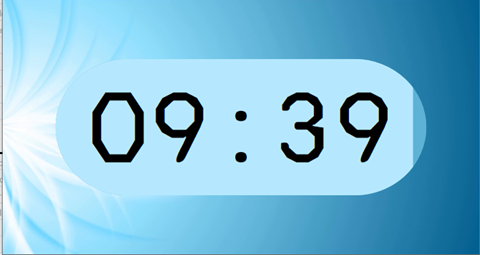
Stopper widget with meter as a progress bar
In this tutorial we wil show you how to create a progress bar using meter widget and stopper widget.
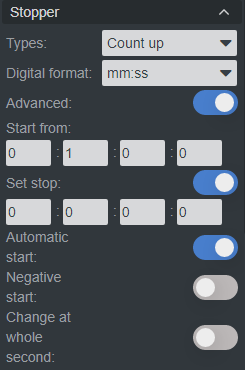
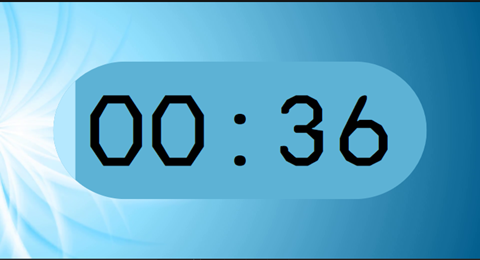
Add a stopper widget

For this to make sense, we need a timer that has a start and an end time
- Turn on the “Stop at value” option and set an end time.
- You can also change the start time. For this demo, we will also turn on the “Start automatically” option.
Add a meter widget
- Then calculate the difference between the start and end time in seconds.
- In this case it’s (10-0) * 60 = 600. Set this number as the maximum of the meter widget.
- You could set the Orientation to Horizontal.
- Change the colors to fit your content.
- You could also add rounding or a mask, etc for it to look better.

- You can move the meter behind the stopper widget in the Layers menu.
TIP
If you don’t want the text to show up on the meter widget, just set the font color to transparent.
Stopper widget actions
- Now select the stopper widget and on the Other tab, find the “Edit stopper actions” button.
- Add a new action and choose “Each tick” as the Event type.
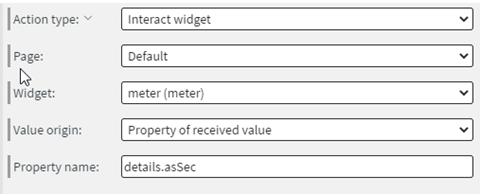
Then set up the action:
- Interact widget, target the meter widget on the same page
- Value origin should be Property of received value
- Set property name to
details.asSec - You may need to turn off “Simplified view” in the bottom corner for all the options to show up!
Now you can test it in the preview.
Now
Later