UDP server
Requirements
- Android application with version 3.0.88 or higher.
- Windows application with version 3.1.301 or higher.
- JSCore application with version 4.1.396 or higher.
Setup & Configuration
In order to utilize the UDP server, it is necessary to apply a configuration to your device(s).
- Navigate to Devices menu, then select the device where you want to use the sensors.
- Open the device settings by clicking on the icon
OR
-
Click on the device card, then Select Settings tab
-
Find sensor settings, then set the following sensor configuration:
{
  "services": [
    {
      "uid": "udp",
      "type": "UDP",
      "settings": {
        "address": "224.0.0.3",
        "port": 5974
      }
    }
  ]
}
In the configuration, the address is UDP Multicast Address.
- The UDP Multicast Address is a way for one device on a local network to send a message to all other devices on the same network simultaneously, kind of like a public announcement that everyone can hear.
In this particular instance, we are using port 5974. However, if you have a preference for a different port, please feel free to use it.
Content
We will transmit a message from the Sender Device to the Target Device.
To confirm the reception of the message by the Target Device, it will be relayed back to the Sender Device.
Get the IP address
To utilize UDP server between 2 devices, you have to know the IP addresses of the devices.
You can find the IP address of a device if you have to enter the device details where you have to find the Network section.
Create the sender / receiver content
-
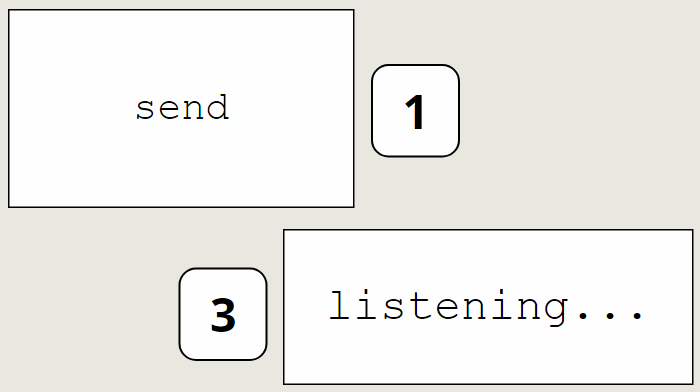
Create 2 text widget boxes. Fill the box of the first one with the text
send -
Add 2 more text widgets with number 1 and 3. The forwarder content will contain number 2
Your content should look like this:
Send to target device | action
-
Click on the text widget that contains the
send. -
Navigate yourself to the PROPERTIES >> WIDGET >> OTHER >> EDIT TOUCH EVENTS
-
Click on the ADD NEW button, then select the Send static UDP message action in the
Action type:field
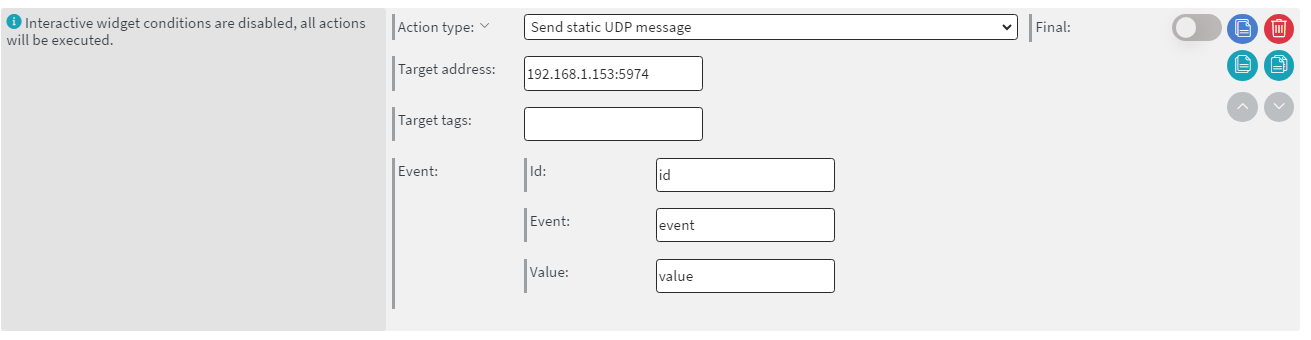
-
Fill the Target address: field with the IP address of the device you wish to use as Target device, then add the port next to it.
- Like this:
<deviceIP>:port
- Like this:
-
this action will send the message to the Target device
You can also set device tags separated by commas in Target tag: field.
-
Save it then go to the PROPERTIES >> CONTENT >> EDIT SENSOR EVENTS
-
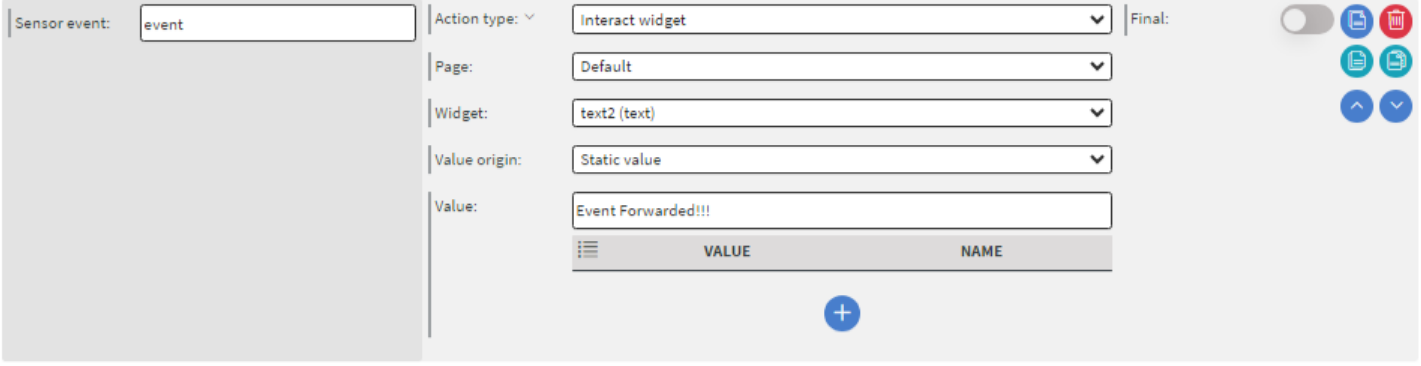
Set the following actions to visually see the in- and outcoming events.
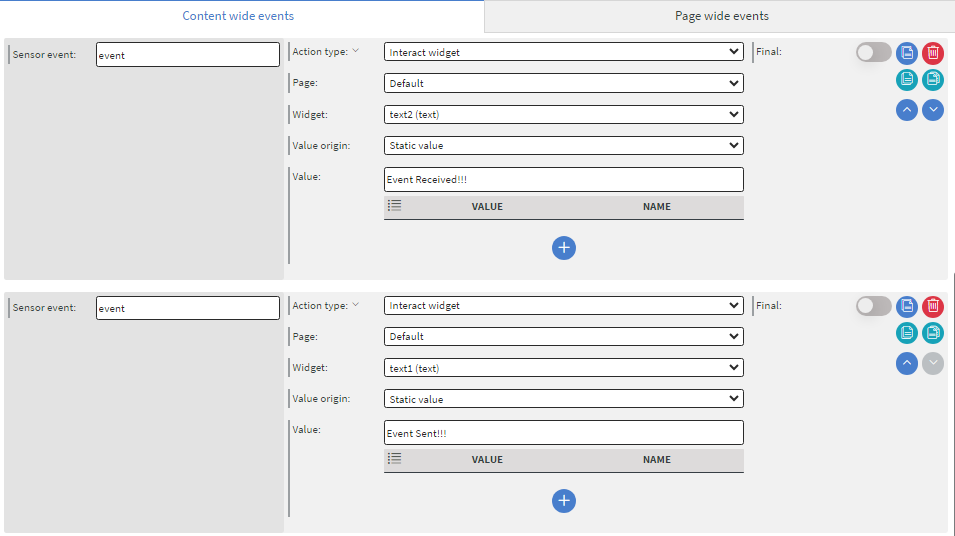
- The first action will alert you in the second text widget that the event has been received
- The second one will alert you in the
sendtext widget that the event has been sent to the target device
Do not forget to fill the Sensor event: fields with the event you sat in the send widget's action
Save it, save the content then assign it to the Sender device.
Create the forwarder content
-
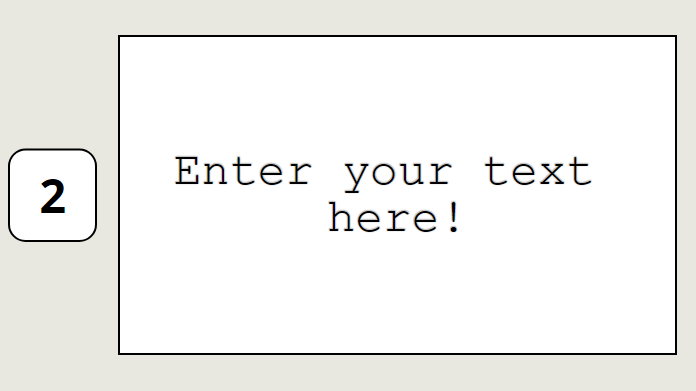
Create 1 text widget
-
Create another one then fill it with number 2
Your content should look like this:
Send back to sender device | action
-
Navigate yourself to the PROPERTIES >> CONTENT >> EDIT SENSOR EVENTS
-
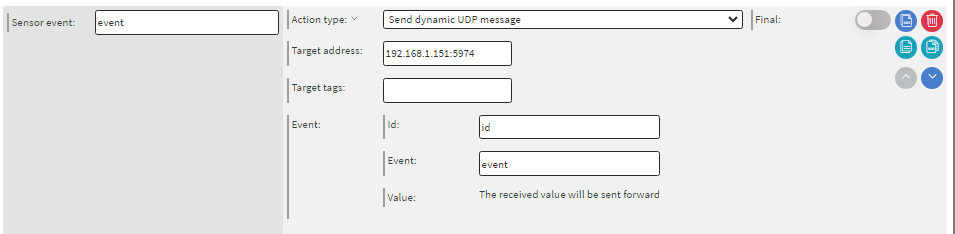
Click on the ADD NEW button, then select the Send dynamic UDP message action in the
Action type:field -
Fill the
Sensor event:field with the event you sat in the content of the sender device. -
In the
Target device:field you have to write the Sender device's IP address with the port, this way the event can be forwarded to the device where it came from.
- Then add this indicator action to see the event's actual state
Save it, save the content then assign it to the Target device.
Final steps
- When both of your contents are assigned to the devices, click on the
sendwidget - You will see the messages in the widgets where the event has been received.
If the 3rd text widget shows the Event Received!!! message, then your devices are ready to communicate with each other.
Downloadable content
Content for UDP-server testing
NOTE: Please enable Import as Content in the import modal!