Add the datasource
Go to Settings/Datasources/Internal datasources and press “Add new”.
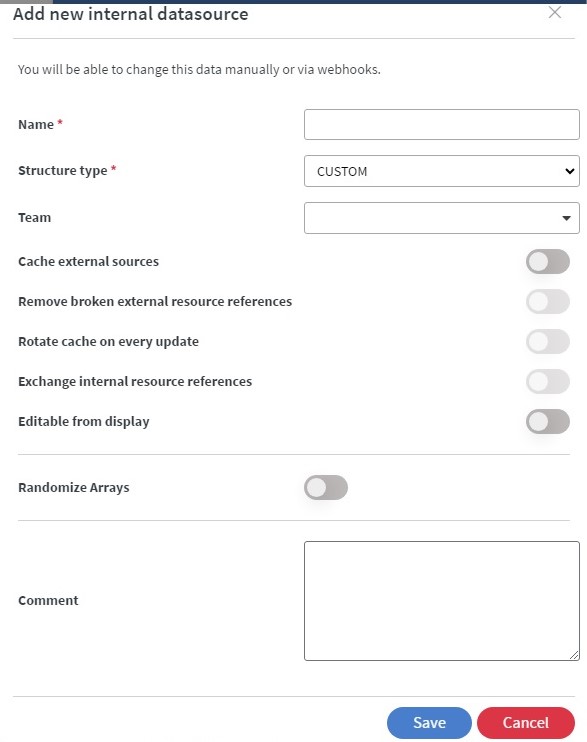
Give it a name and copy your data in JSON format. Leave structure type as “Custom”.
If you have your data in some other format (e.g. XML), you can use an online converter.
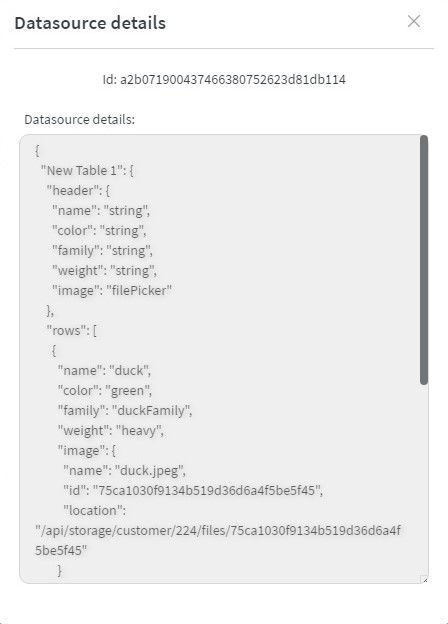
Check if your data is saved by pressing the preview button.

Create the webhook
Go to Settings/Webhooks/Webhook Actions. You will need a Webhook API key already set up. If you need more help, read more about it in the Webhooks article. Press “Add new”. Fill in the name and event id. Select “Set internal datasource” as action type, leave target type at “Datasource” and start typing in the datasource name in “Target” and select it when it is offered. Save it.

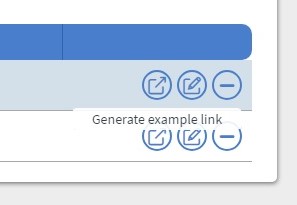
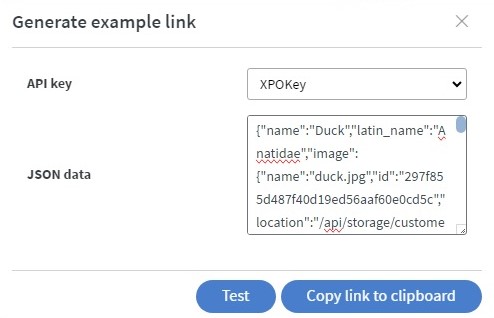
Now we can test the webhook. Click on the “Generate example link” button.
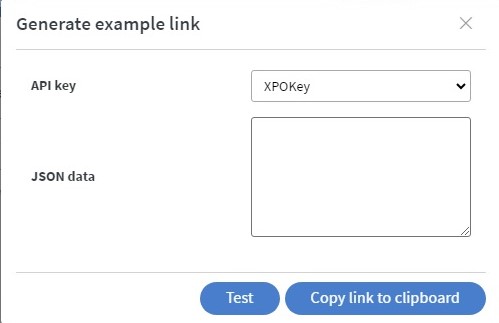
Change the JSON to something else and press the Test button. Go back to Settings/Datasources/Internal datasources and check with the “Preview button” to verify it.
Now we can change it back to our original data either from here with the “Edit JSON” button or via the webhook.
Connect the content to the datasource
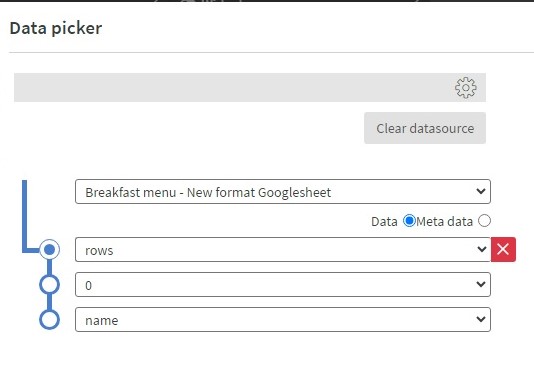
Create a new content. Add some widgets, in this example we will use two text widgets. Click on the Bind to data button in the widget’s Other tab or just Shift+double click the widget.

Select the path to some data.
Do the same for the other widget(s), selecting paths to different data fields.

You can use anything that is available for external datasources (depend on base, data row, datasource events, etc). There is no difference from the content’s point of view neither in the editor nor in the preview / on the device.
Test
Save and open the content preview or connect it to a device.

Go back to Settings/Webhooks/Webhook actions, locate the test webhook we set up earlier and click “Generate example link” again. Copy a modified JSON here. Make sure some of the fields your widgets are connected to get changed.
Click “Test”. If possible, have the preview or the device visible so you can see how quickly the content reacts.
Usage
Now click the Copy link to clipboard to get a testable URL with the current test data. Read more in the webhooks article. Creation of this url is similar to the Sensor example, but you will need a “data” (instead of “sensor_data”) field next to the “event_id” field. Its value is the new data in JSON. Anything else is the same as for the Sensor event example.