How to make a combined action with multiple events
Presentation of the Content concept
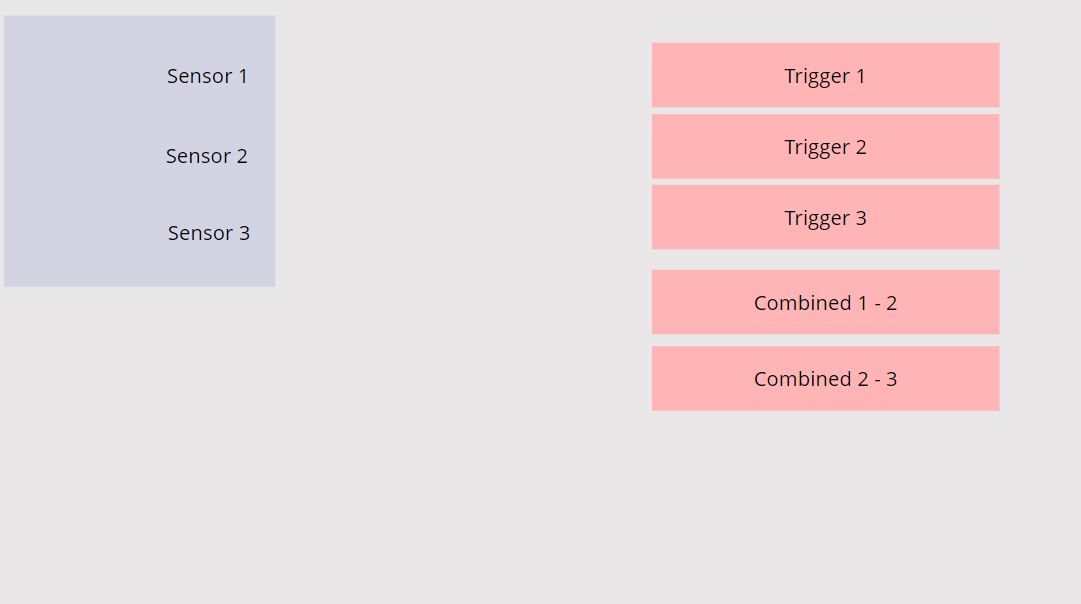
Let us create a content where multiple events or sensors, can be triggered a single combined action. We will start with a simple setup with 3 sensors and 6 trigger actions, including 2 combined event actions. Additionally, in our Sample Content we are using 3 hidden text as well which will help us in Preview mode to see if we get the sensor actions.
How to get start
Mock datasource setup
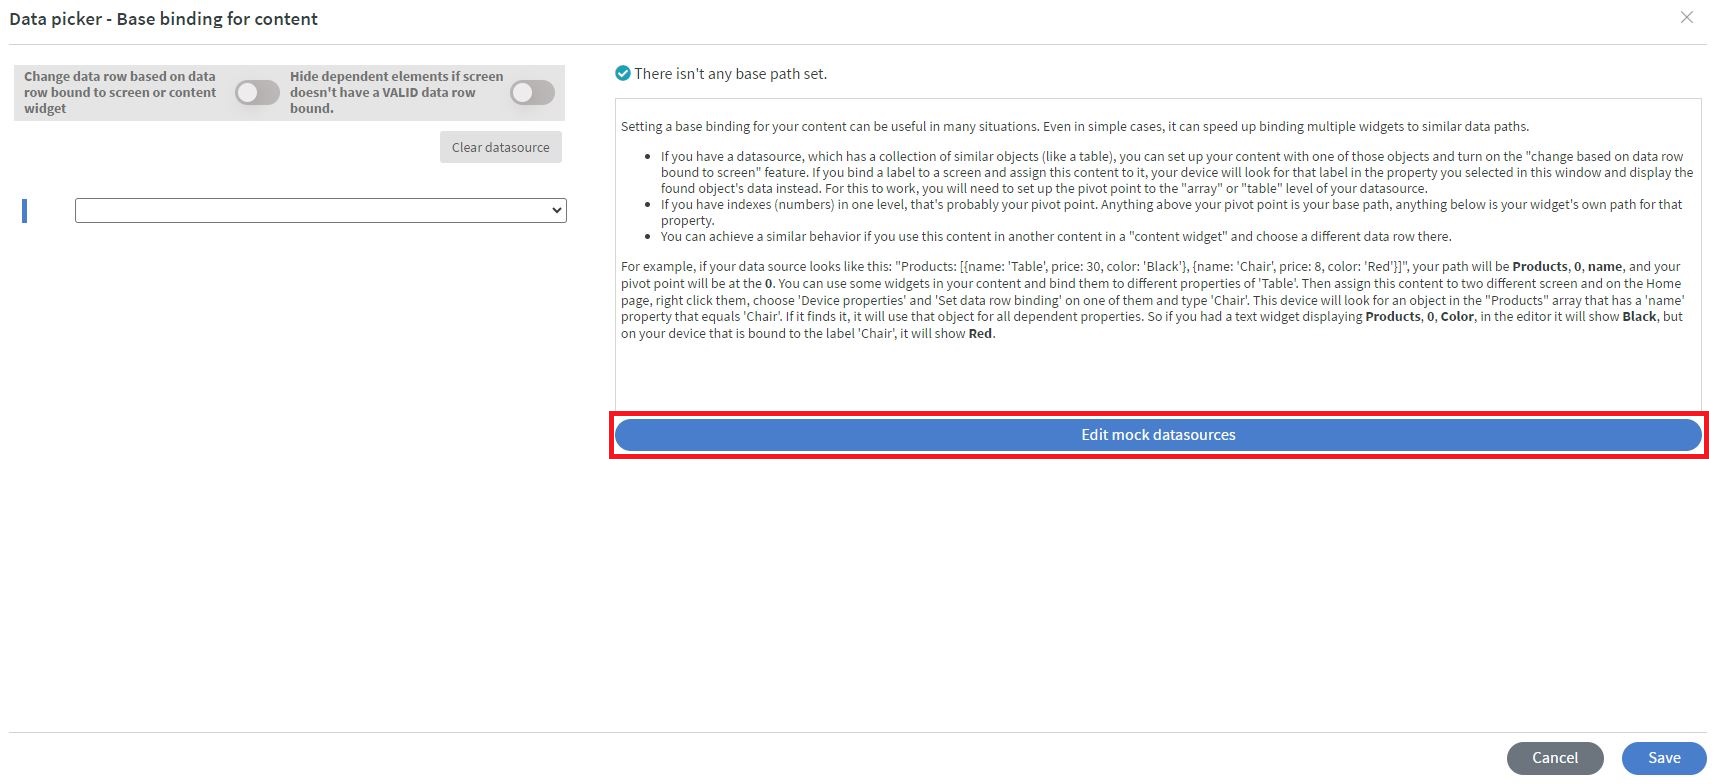
Navigate to the right side menu and select Content > Data Binding > Base Data Path. Here, we will create a mock datasource to store information about which sensor is active and help us to trigger the combined action for us.

Click on the "Edit mock datasources" button.
In this sample JSON, we have three events labeled as event, event2, and event3, each initially assigned a blank value. If a sensor is used, the blank values can be replaced with the default state of the sensor, such as "off" for a button sensor or "un-lifted" for a lift sensor. We can rename our Datasource, which we call sensorData.
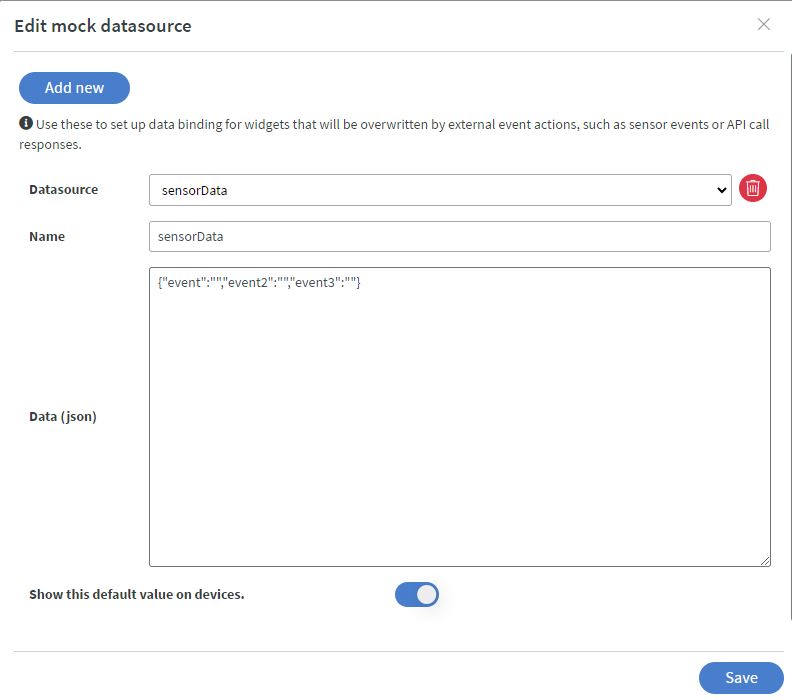
You can copy our used JSON below:
{"event":"","event2":"","event3":""}
Sensor events setup
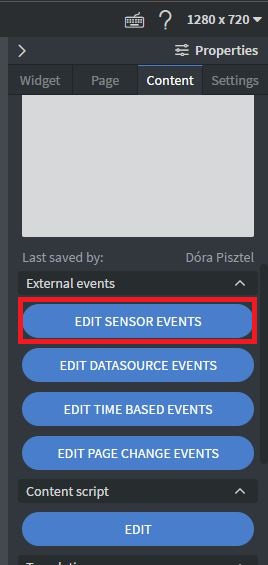
Navigate to the right side menu and select Content > External events > Edit sensor events.
In our example, we use event, event2, and event3 to identify which sensor has been activated and send us back a value. You can replace these events to your sensor event, such as "lift-up" sensor value on a lifting sensor or "click on" sensor value on a button sensor.
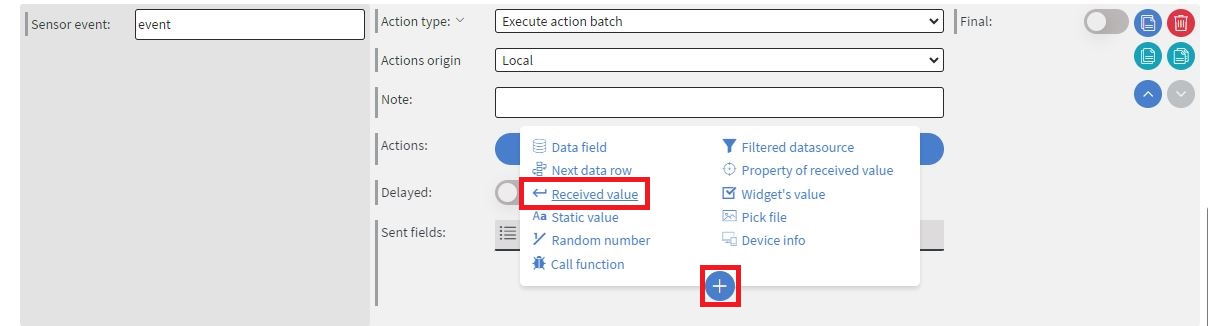
Inside the Sensor events and actions menu click on "Add new" button. Select the "Action type" to "Execute action batch". Click on the "+" icon and select "Received value".
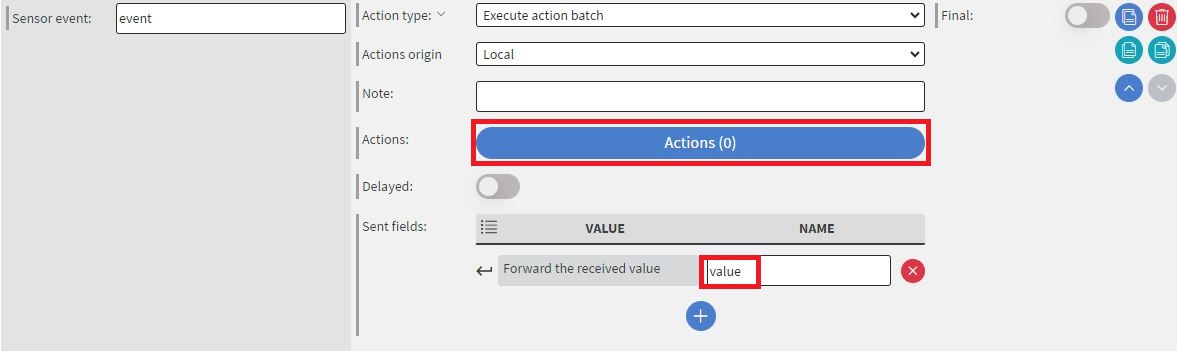
Here in the name give a "value" name. After that click on the "Actions(0)" button.
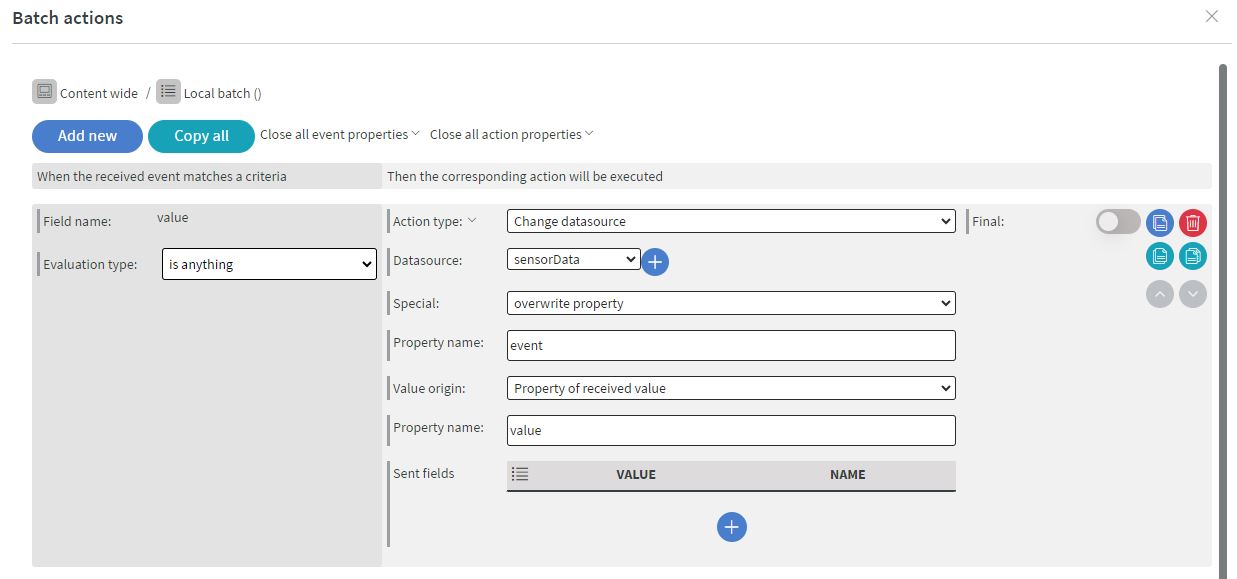
In the Batch Actions section, click on the "Add New" button. Set the "Evaluation Type" to "is anything", and choose "Change Datasource" for the "Action Type". In "Datasource" menu select our mock datasource, which we named "sensorData". Under "Special", select to "overwrite property", and write down your sensor event which in our example is "event". For "Value origin", select "Property of received value", and input "value" in the "Property name". This represents the value we received from the sensor.
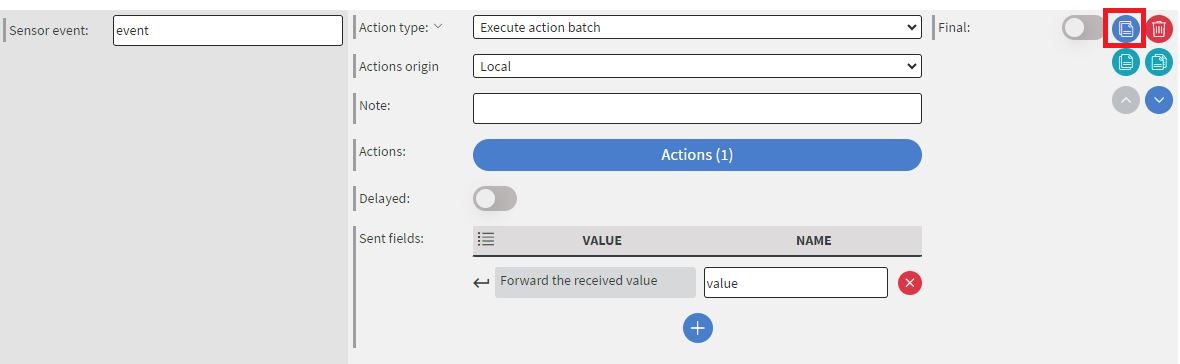
Now click on save, and we finished with our first event setup. You can either way make again these steps with the other events action or click on the "Duplicate Action" icon.
When you Duplicate your action you need to:
- Change your "Sensor event" appropietly to your other sensor event value
- In the action batch, accessed by clicking on the "Action" button, modify the name under "Property name" to match the Datasource name
Datasource events setups
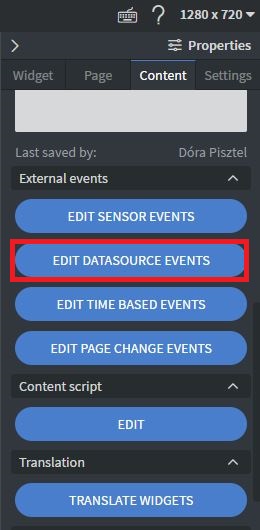
Navigate to the right side menu and select Content > External events > Edit Datasource events. This will help us to trigger our action events when changes occur in our mock datasource.
Select the "Add new" and select the "Bound value".
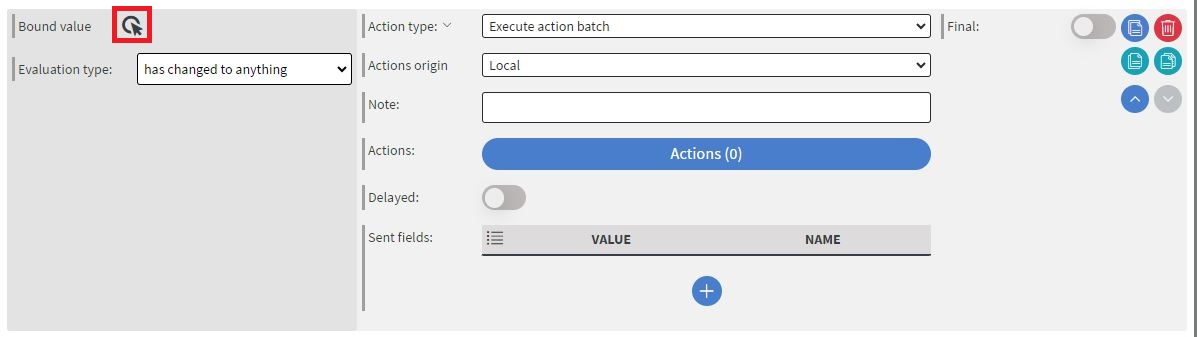
Here you just only need to select our mock datasource, and click on save.

After we saved the datasource path, click on the "+" icon and add "Property of recieved value"
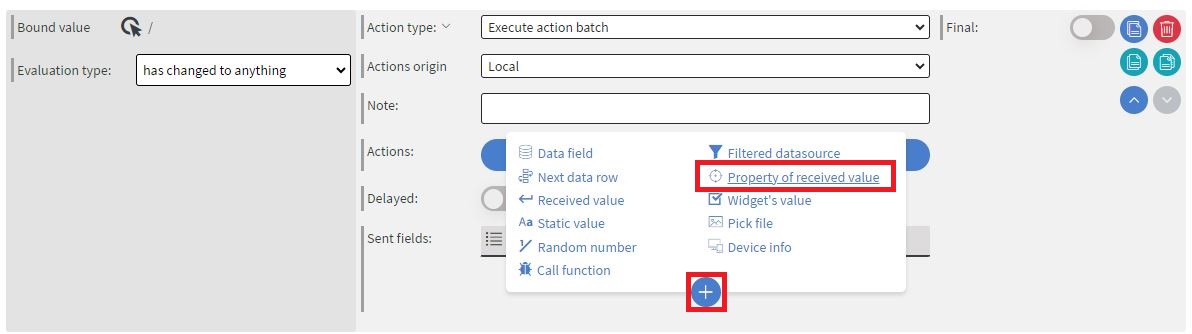
Here we need to add our event name into the "Value" from the datasource and give a name at the "name" field eventValue. In our example we are using 3 events event, event2, and event3 we will use these and add them eventValue, eventValue2 and eventValue3. If you have more than this or fewer than change it to a necessary number.

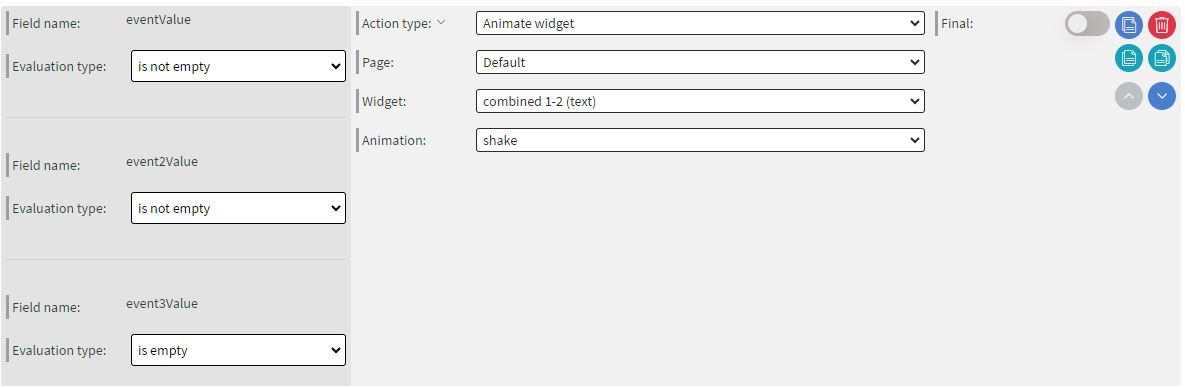
Afterward, click on the "Action(0)" button. Here, we will set up our combined events. Since we have 5 events, and we used blank values in our sample, we are set the "Evaluation type" to "is not empty" or "is empty". However, if you are using sensor values that change, switch this to "Equals" and input the appropriate sensor values. Please on the Picture to see the action events setup:
 | 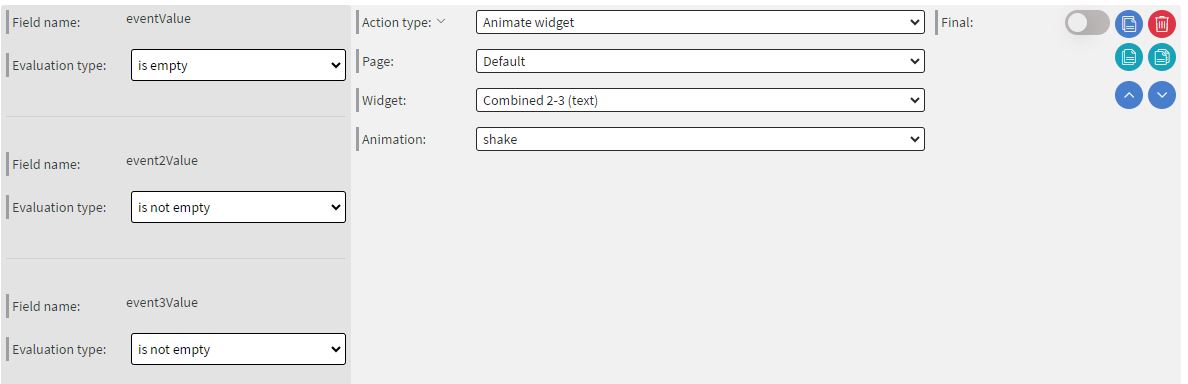 | 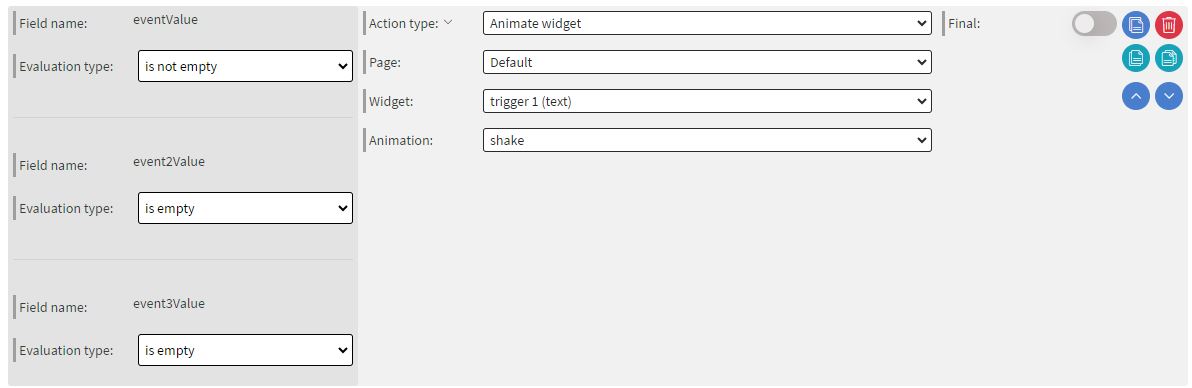 | 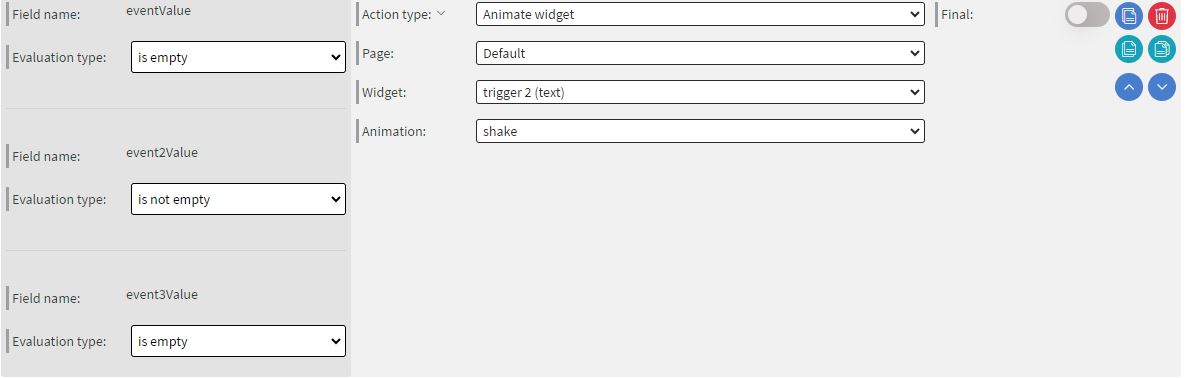 | 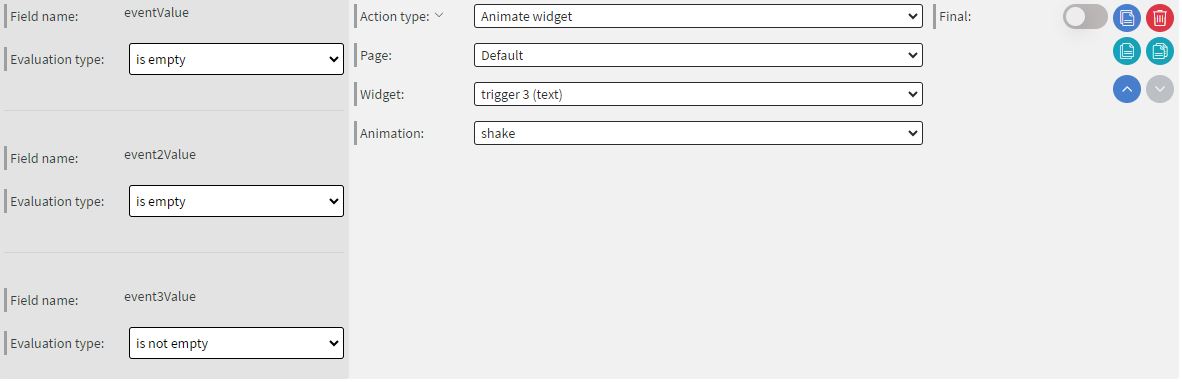 |
|---|
Once you have completed your setup, click on "Save" followed by "Save" again. Then save your entire content. This ensures that all your configurations are preserved and applied to your content.
Sample Content
Here you can download the Content sample and import it.
Preview mode check
When you download our Content you are able to check that how everything is working out. Click on the Play button.

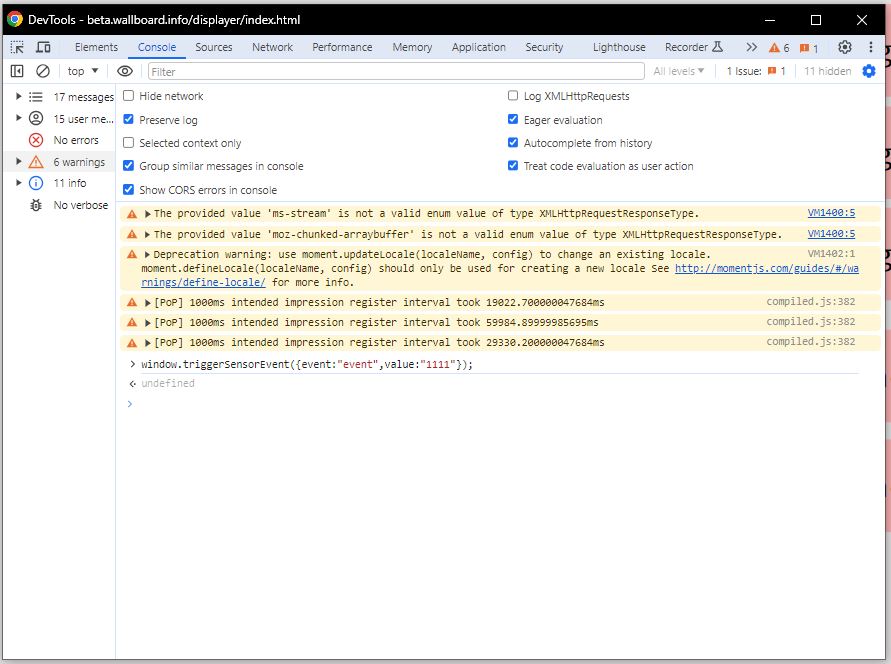
It will open a New tab for us. For making sensors command in Preview you need to open up DevTools in your browser. Press the Function F12 button on your keyboard or use the keybinding specific to your browser (in Chrome, it's CTRL+SHIFT+J).
We are using our sample events and their corresponding values. Please make sure to update any names and values as necessary.
For example, we are inputting values into your first event (Sensor 1) with values "1111". Copy the provided code below, and paste it inside the console. Then, press the Enter button on your keyboard to execute the action.
window.triggerSensorEvent({event:"event",value:"1111"});
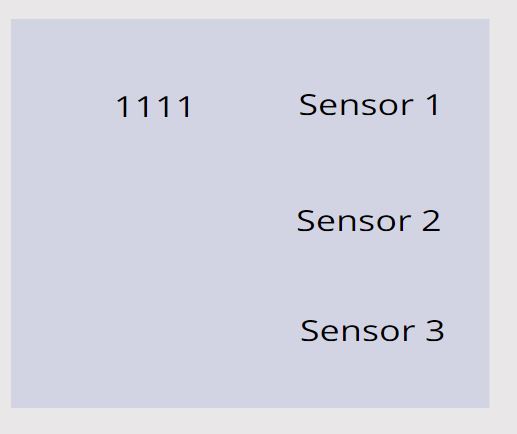
After entering the command, you can see that one of our previously hidden blank texts is now shown up with the values "1111" next to Sensor 1. This indicates that the command was successful and the sensor event has been triggered as intended.
You can turn off the sensor event by executing the following code:
window.triggerSensorEvent({event:"event",value:""});
Below, you can find examples of the other sensor events and see how they can ge triggered:
- For event2:
window.triggerSensorEvent({event:"event2",value:"2222"});
window.triggerSensorEvent({event:"event2",value:""});
- For event3:
window.triggerSensorEvent({event:"event3",value:"3333"});
window.triggerSensorEvent({event:"event3",value:""});